Bob's Lost In Space B9 Robot Project | home
Misc. Parts | Motor Shaft Extensions | Knees & Hinges | Treadsections | Tread Making | TreadMaking from Tires | Drive Parts | Drive & Tread Installation | Tread movie | Barry's Tread Movies | Drive Upgrade | Legs | Donut & Waist plate | First Stackup | Torso | Neon | Arms | Microphone & Knob | Chest Buttons | Power Pack | Torso Vents Misc | Making Vents | Large Vent Drawings | Arm Mechanism #1 | B9 Arm Mech Dev. | Wrists & Claws | Collar | Radar | Motorizing Ears | Making Sensors | Brain | Brain Cup & Light Rods | Bulbs & Wiring Diagrams | My Old Robots | B9 Builder's & Info Sites | Related Links | Building Reference Info | Parts Drawing Links | Site Revisions | Final Leg Assembly | Leg & Hip Assembly | Leg-Hip Action | Non-B9 Projects | 2008 TX BUILD-OFF | 2008 TX BUILD-OFF PAGE 2 | RoboCon 2009
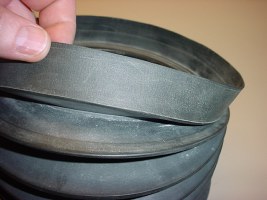
This is just a page to show some basic pictures of the arms and how they fit into the torso. Arms are made of neoprene rubber. Note in all the pictures I have not yet cleaned off the talc powder that was applied after manufacturing. Arms are as I received them.

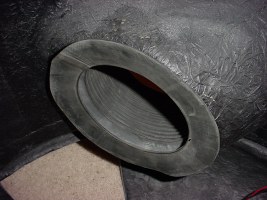
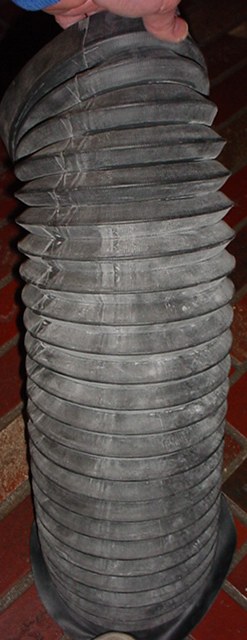
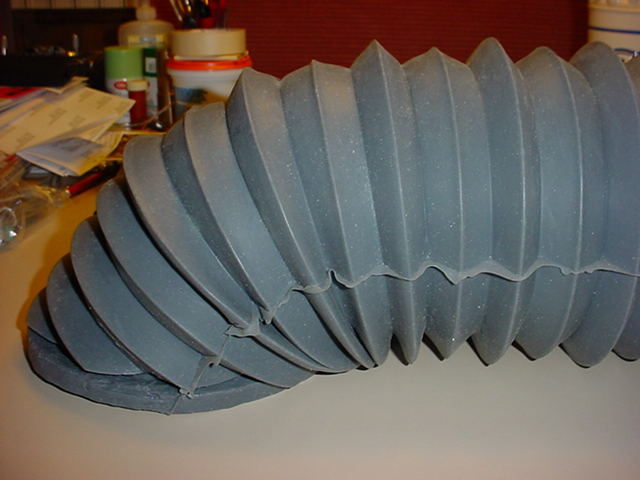
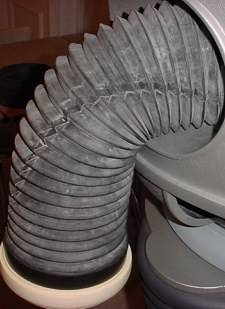
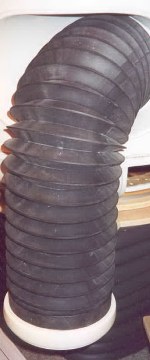
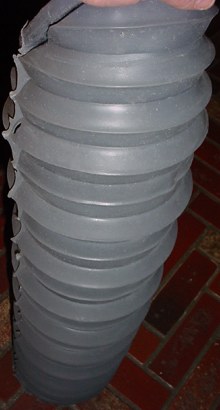
Norm's original arm design, collapsed.
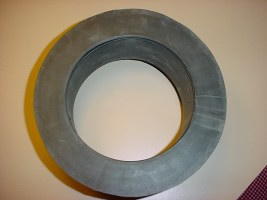
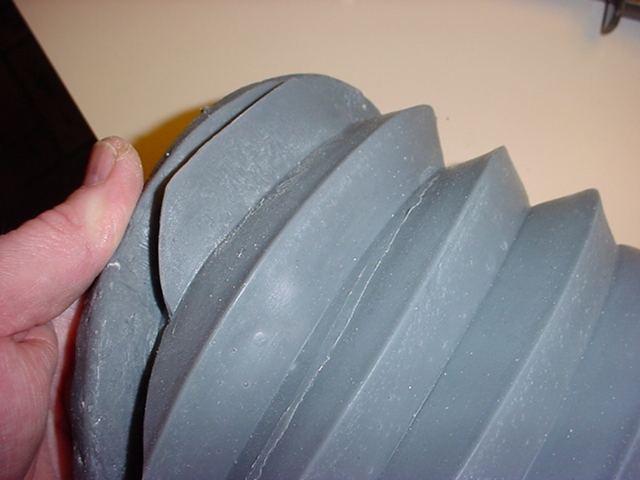
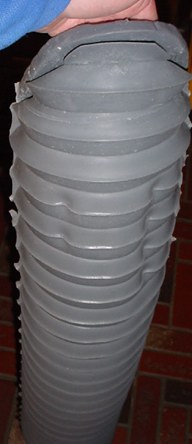
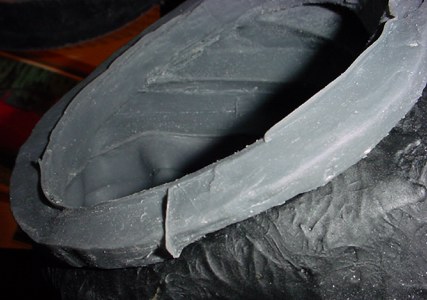
Wrist collar.
Back side torso retaining flange.

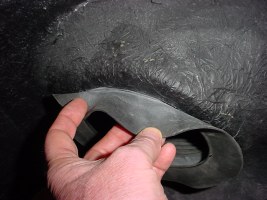
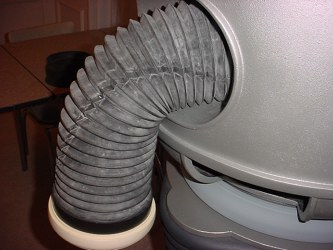
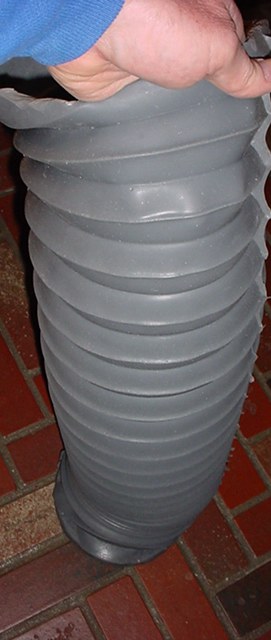
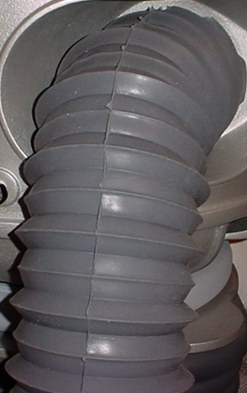
Extended.
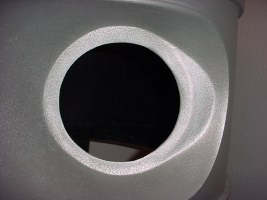
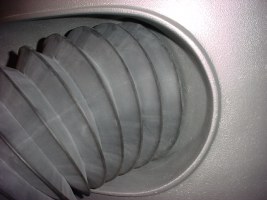
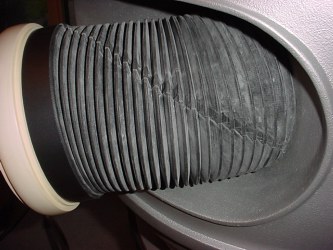
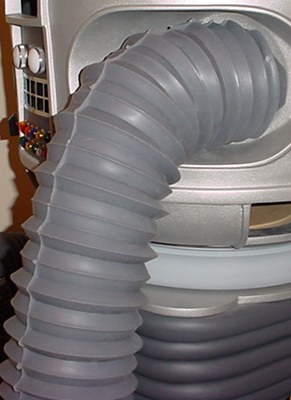
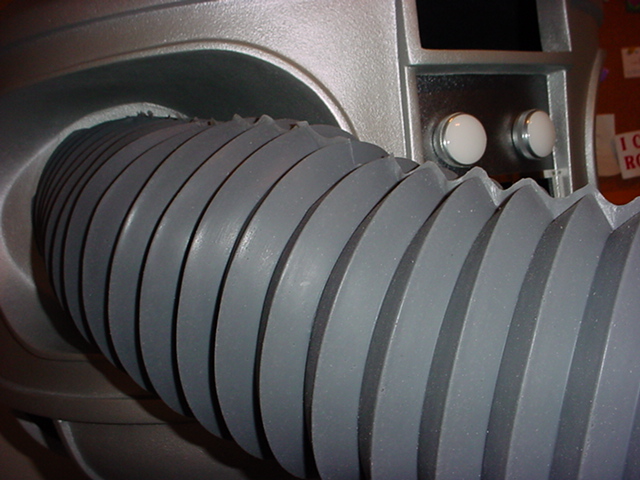
Arm hole cut in torso arm socket. I positioned the hole to fit the arms I am using. Basically by eye for a proper fit. No fancy calculations. I used a 6" diameter hole to fit these arms, although 5.75" is a tighter fit. If you have a torso with precut 7" holes, they will be too big and you will have to revamp it to work with these types of arms.
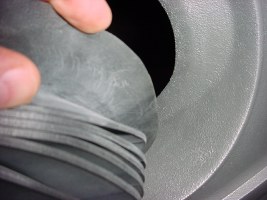
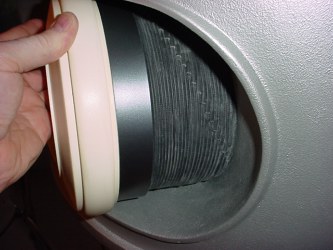
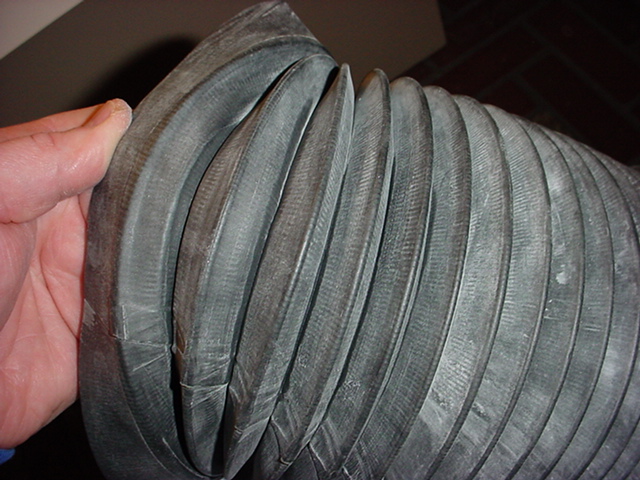
Bend back the arm flange and insert it into the torso and pull through from the inside.
Nice fit.
The flange does hold the arm in place, but if you plan on mechanical extension of the arm, you may want to secure the arms in place to guarantee they cannot be pulled out from the front. I am using a donut ring made of wood to do this and securing with screws. (Nothing more embarrassing than a robot's arm bellows slipping out of the socket and exposing his internals!)
Front View.
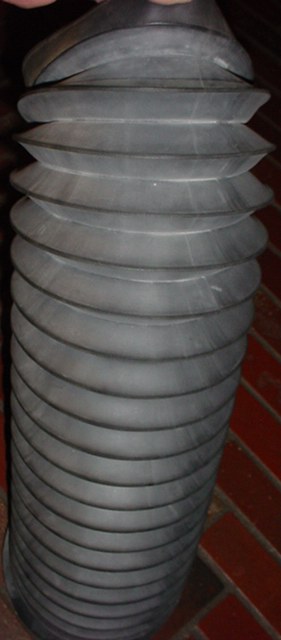
Below are pics of Norm's new arm design.
I personally like the original design better although the new arms are supposed to be more accurate to the original. I had this set made special using material twice as thick as the normal ones he provides. Since I will be mechanizing arms I did not want to use internal rings in the peaks to keep them from collapsing when extended, so I used thicker material instead. I haven't decided for sure which set of arms I will use on my main robot. The other set will go on my stunt robot project.

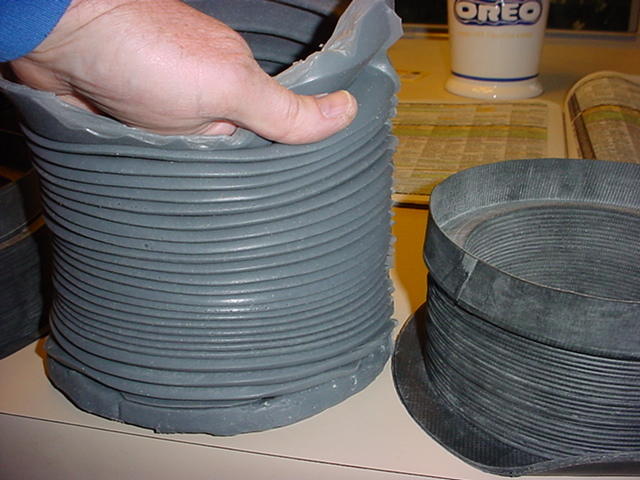
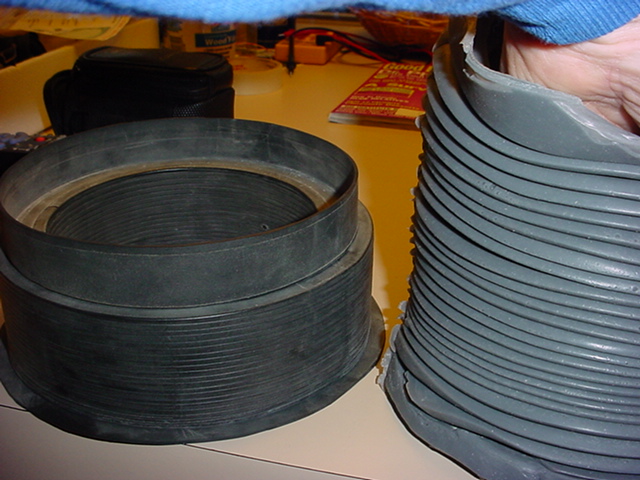
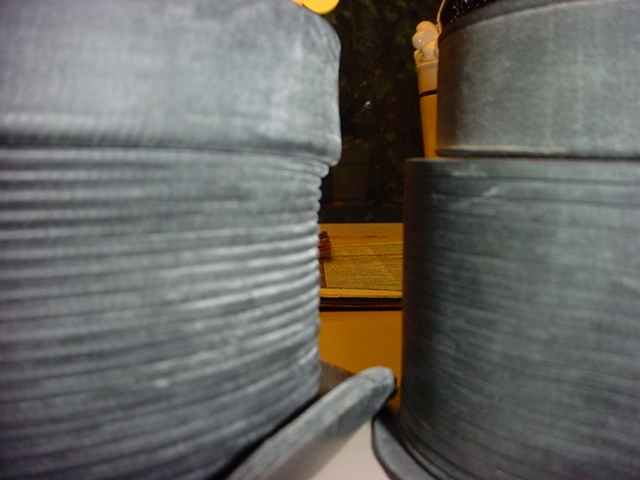
Below are some comparison pics of arms I have purchased. Somewhat different designs and different materials. If you have any just one of them they all look good and you don't really know the differences. When you put them side by side and compare you really see what is different about them. I've left these as larger files for a little more detail.
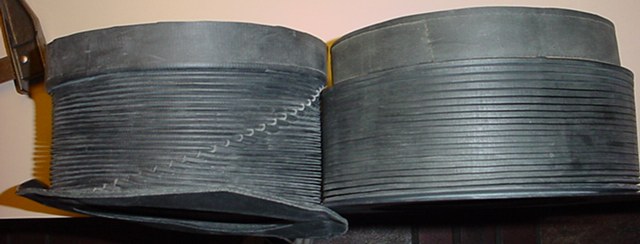
Norm's new arms on the left and his old arms on the right. Both neoprene material. The new arms have a diagonal seam.
Norm's arms remain in the compressed position normally, you pull on them to extend or stretch out. They are "out of the box" condition. One thing you can see here is that the old arms (right) have peaks that are larger than the wrist collar diameter, whereas on the new ones (left) the peaks are just slightly less than the wrist collar dia. I did have these new arms on the left made of material twice the normal thickness Norm uses so I don't have to use arm rings inside the peaks.
Will's silicone arms on the left and Norm's new neoprene arms on the right. The silicone arms are very soft and in the relaxed position they remain extended. I had to hold them in the collapsed position for the picture. (these are Will's silicone rejects-so they have some defects-they are not final production parts as was used on Mike Js production robots.) (as rejects they are still really pretty nice!)
Norm's old obsolete original arms on the left and Will's silicone arms on the right (these are Will's silicone rejects-so they have some defects-they are not final production parts as was used on Mike Js production robots.) Not again on Norm's orig. obsolete design the peaks are a larger diameter.
Another comparison of the peak diameters in relation to the wrist collar, new-left, old-right.
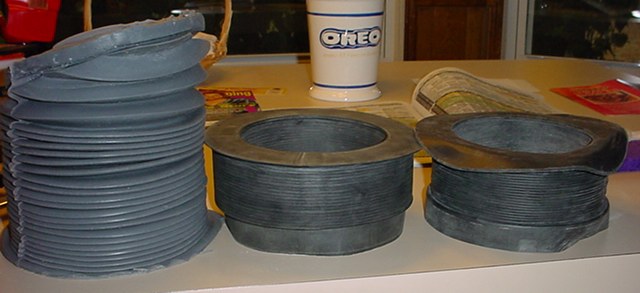
Here they are with the torso flanges up. Left - Will's silicone (untrimmed from the mold), Middle - Norm's original obsolete and right Norm's new version. The weight of the silicone flange helped hold it in the collapsed position. Note since I have not trimmed the excess mold material off the silicone arms they don't sit totally flat, once I trim them up they should collapse better.

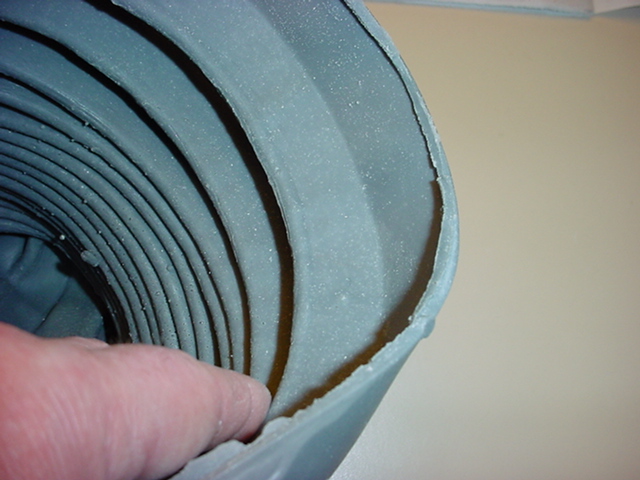
Here's a good pic of a good section of the wrist flange on Will's silicone arms. Part of the reason these were rejects is because the mold was not completely filled and the wrist collar was not continuous all the way around.

On the torso flange side of Will's silicone arms there is a heavy inner torso flange used to hold it in the torso arm hole.
Here is another pic of the silicone torso ring, remember these are untrimmed rejects. I will be trimming up the seams, etc. Note the overall diagonal mounting so the arms sit straight out of the torso.
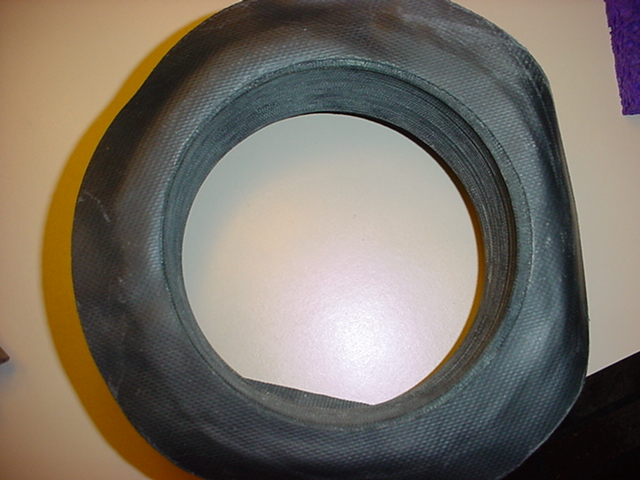
An inside pic of the wrist collar. Remember these are untrimmed rejects. Pretty nice, huh? I will be trimming them up and using them on one of my robots. (Probably my main robot with Will's silicone legs also-pics of that to come in a while).
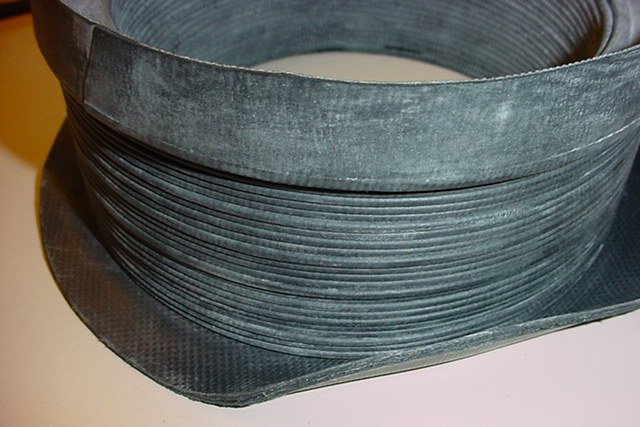
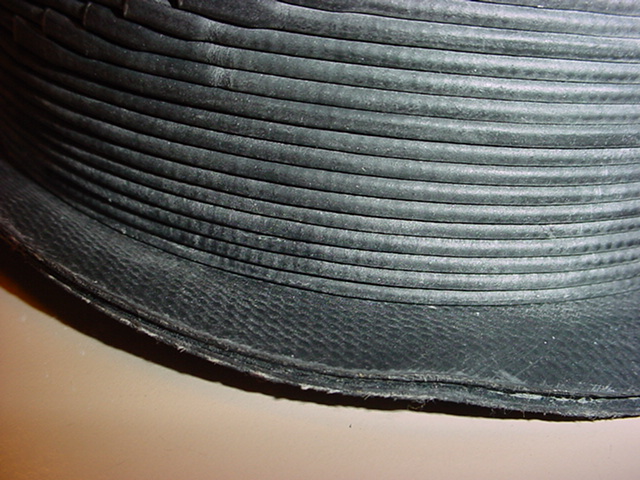
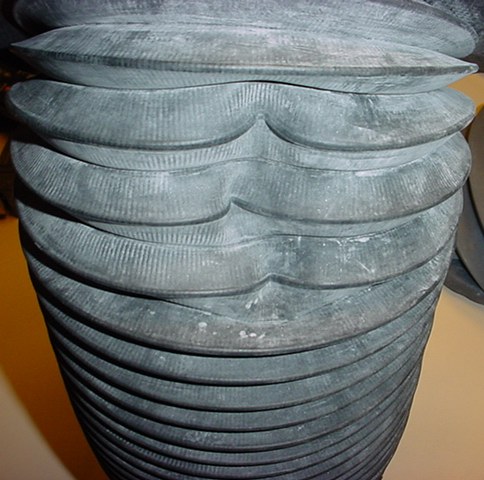
Torso flange on Norm's latest arms, came reinforced with two rubber retaining rings glued to the end of the arm.
Another shot of the torso flange. It wasn't completely flat but the torso holds it flat. You can see the layers of it if you look carefully.
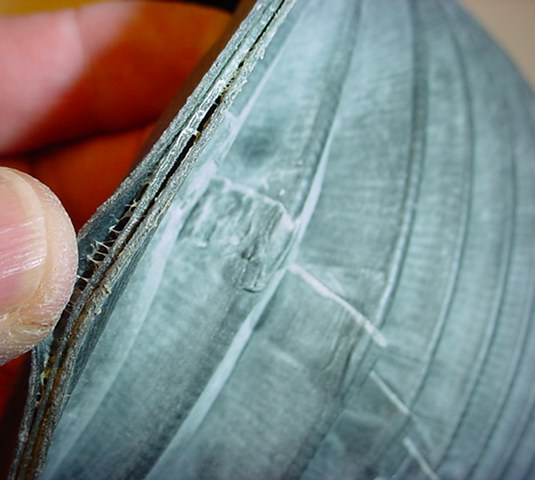
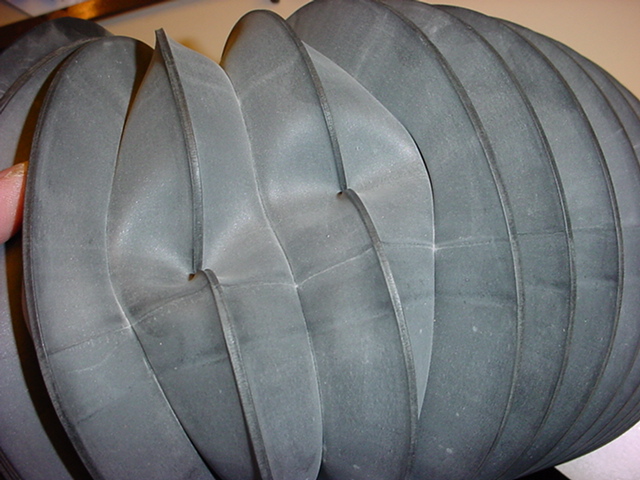
Torso flange, slight separation at the edge, doesn't hurt a thing though. Here you can see the start of the diagonal seam on these arms, I actually am not too big a fan of that.
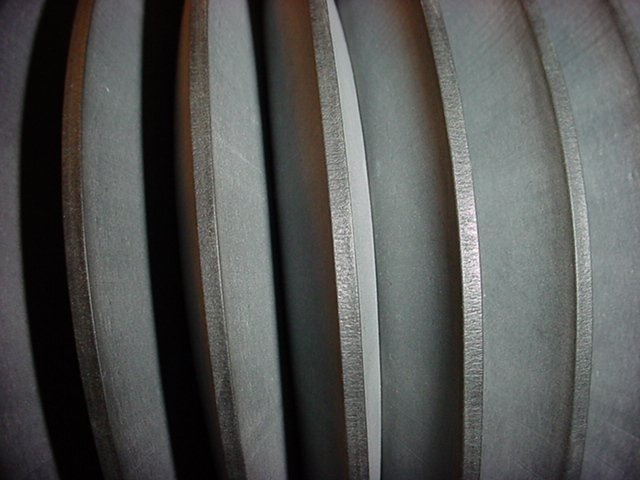
Norm's new arms have a diagonal seam. I cleaned off some of the talc in this pic. I suppose the thicker material I had these made of created a more noticeable seam, but don't know. This particular neoprene seems to have a ribbed effect to it which may be caused by some type of fabric based material, I never asked about it. You can see it in the next picture too.
Wrist collar end, Norm's new arms.
Here is the stretch test! I held the flange down with my toe and stretched it out to take the pic. Norm's new neoprene arm on the left, Norm's obsolete in the middle and Will's silicone arm on the right.
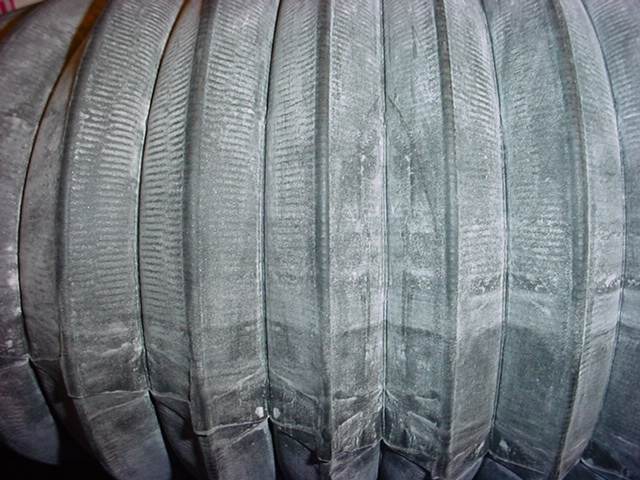
Closeup of Norm's old obsolete neoprene arm peaks and valleys.
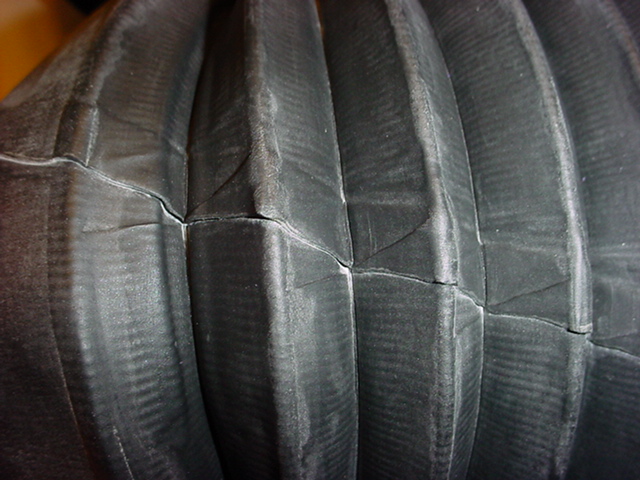
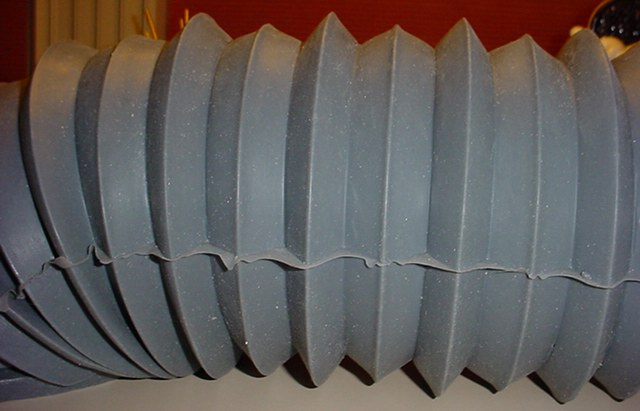
Closeup of Norm's new neoprene arm peaks and valleys.

Closeup of Will's new silicone arm peaks and valleys.
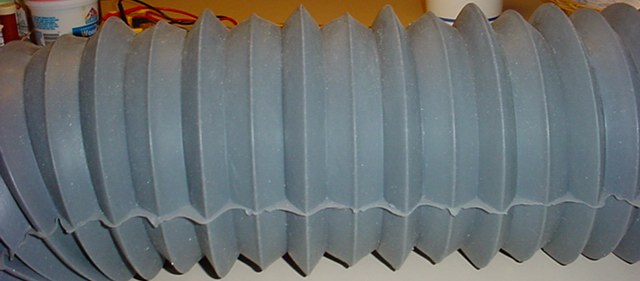
Here they are with 7" rings installed in every other peak for that first season look.
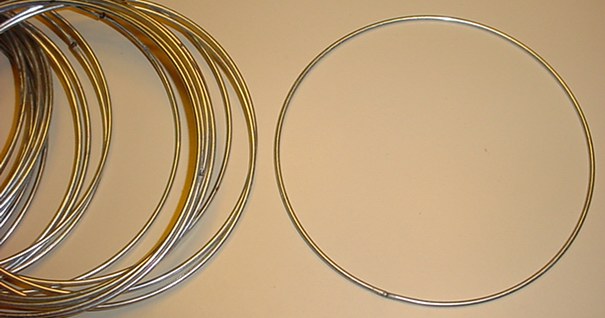
Here are the rings I used. The are 7" diameter "lamp shade" rings. I did need to file the welds a bit on some of them to eliminate any burrs. They slip in fairly easily. You can put them in either every other peak or every peak depending on which season look you prefer. Season 1 alternating peaks, Seasons 2 & 3 all peaks same height.


Comparison to 1st season screen grab from the show, the bottom one is the screen grab, top is the new silicone arm.

Here is another picture of the silicone arms that are untrimmed rejects from the mold. They will be easy to trim up. I am sure Will trims up the official production parts. Hopefully he will be able to vend them to the club later on this year.
Another pic with rings installed every other peak.
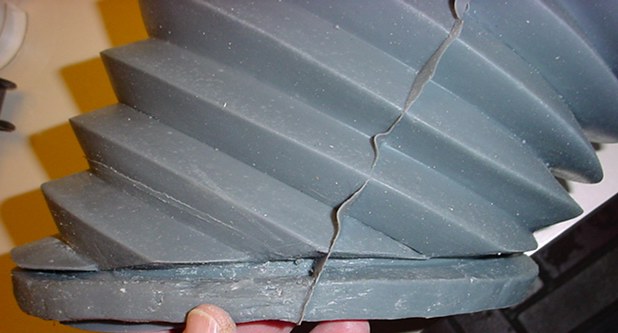
I like this test. I call it the pucker test!. How far do you have to pull the arm to get it to pucker and how easy does it pucker?
These are Norm's new arms that I had made twice thickness and you really have to stretch them out hard to get this effect. I believe his standard thickness new arms are much softer and will pucker easier. Hence you will probably want to install the inner arm rings in them.
Just for grins, I could get Norm's original arms to pucker, but they don't like to. No need for inner rings in them.

Will's soft silicone arms pucker easily when you stretch them out and you do need inner support rings in them if you are going to mechanize or extend them. (again, these are untrimmed rejects-all that seam extra will trim off easily, not typical of production parts).

I call this the "squish test" The silicone is soft and takes this abuse well and springs right back. It is a very neat material. But it definitely will require inner support rings for each of the peaks to prevent collapse. You'll see what I mean below.
Here is a look at that "pull tab" or whatever you want to call it. Really is a result of the diagonal cut to fit the arm straight to the torso.
 1. Norm's new neoprene arms, they tend to retract without wrists or any weight on the end of them. Pic shows them hanging off torso with heavy resin wrists.
|
 2. Norm's original obsolete arms. They also tend to retract without wrists or any weight on the end of them. Pic shows them hanging off torso with heavy resin wrists.
|
 3. Will's silicone arms with 7" metal arm rings installed in every other peak. Gives that 1st season look of the alternating peaks. And they provide support for the arm when it hangs freely from the torso. Without rings see next pic.
|
 4. Silicone arms without any internal rings, their own weight causes them to collapse if you just let them hang. So inner rings are required.
|
One last "hang test".
 Silicone arms hang their full length when held from the torso end without any wrists on them or rings inside. The soft silicone arms will pucker from their own weight so I will be installing inner peak rings to maintain the shape.
|
 Silicone arms with rings installed in every other peak.
|
 Again with the rings installed. I like this the best. You can put them in every peak so they all are the same height peaks like the 2nd and 3rd season robot arms.
|

A pic without the internal rings but I actually I just stuck my arm inside from the wrist end to support it here and took the pic with my other hand. Again, these are untrimmed and all that seam material will be trimmed away.
Another single handed portrait. I do really like the look of the silicone arms.
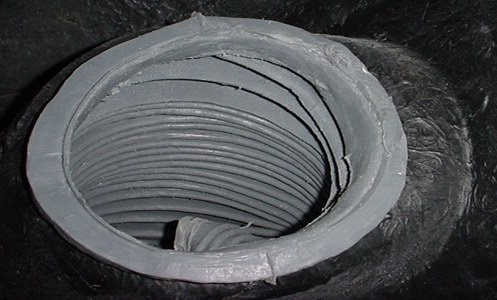
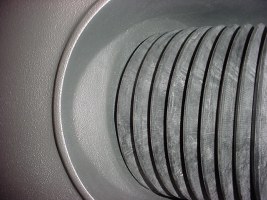
Here are a couple shots of the torso mounting flange from inside the torso (looking up from the vent openings.
Each type of arms has its pros and cons. You can't paint silicone, or neoprene. Latex and plastic or vinyl can be painted. Although in any case I don't like painting rubber parts of any material as the paints just do not flex properly for long lasting finish. Unfortunately I don't have any of Vince's latex arms to compare, I ran out of $!!!
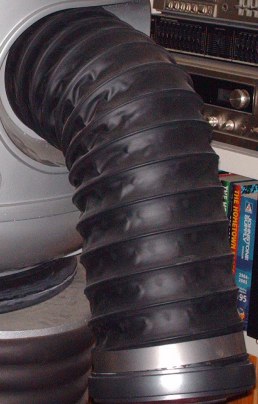
This is a pic of the "Flexhaust" spiral wire hose for budget projects. Mike L. tried it and is going to change to one of the club type arms because this one is just not the look he wants. I've not seen Flexhaust in the flesh but this pic is pretty good. Some members like it fine.
Go to Microphone & Knob