Bob's Lost In Space B9 Robot Project | home
Misc. Parts | Motor Shaft Extensions | Knees & Hinges | Treadsections | Tread Making | TreadMaking from Tires | Drive Parts | Drive & Tread Installation | Tread movie | Barry's Tread Movies | Drive Upgrade | Legs | Donut & Waist plate | First Stackup | Torso | Neon | Arms | Microphone & Knob | Chest Buttons | Power Pack | Torso Vents Misc | Making Vents | Large Vent Drawings | Arm Mechanism #1 | B9 Arm Mech Dev. | Wrists & Claws | Collar | Radar | Motorizing Ears | Making Sensors | Brain | Brain Cup & Light Rods | Bulbs & Wiring Diagrams | My Old Robots | B9 Builder's & Info Sites | Related Links | Building Reference Info | Parts Drawing Links | Site Revisions | Final Leg Assembly | Leg & Hip Assembly | Leg-Hip Action | Non-B9 Projects | 2008 TX BUILD-OFF | 2008 TX BUILD-OFF PAGE 2 | RoboCon 2009
Claws & Writsts
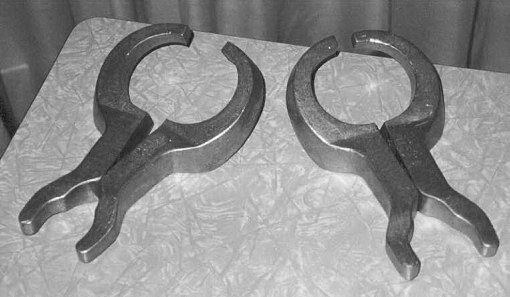
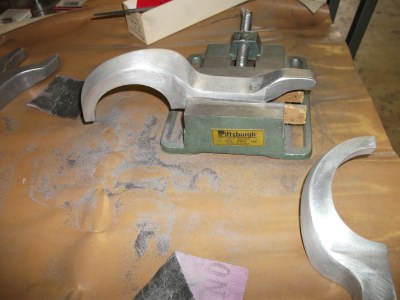
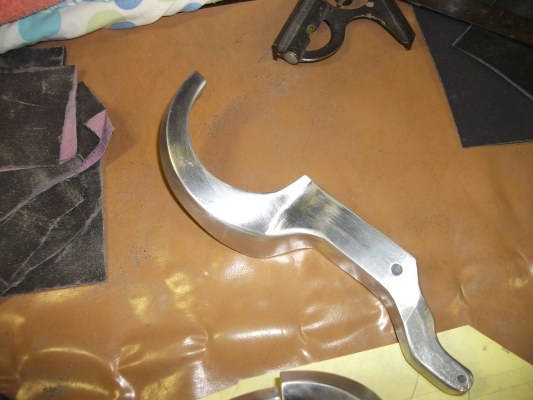
Here are cast aluminum claws in the raw. These are no longer available, most claws today are made from resin or wood.
(1st generation from club member Bill Kendzierski).
They will require sanding with emery paper and painting or polishing. I am going to sand and polish to a mirror finish.
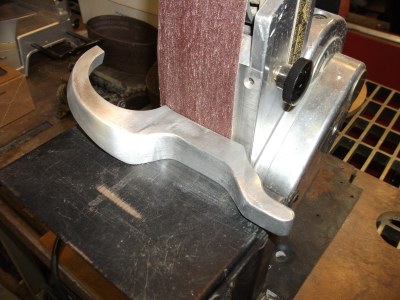
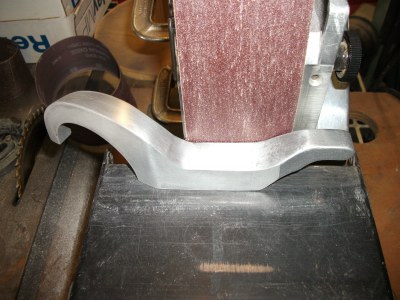
Beginning the rough sanding. I started with the flat surfaces. Initially 50 grit, but found that 80 works a little better.
Of course this is a two handed job, but I couldn't take pictures while actually sanding, so these give you an idea of sanding the various surfaces.
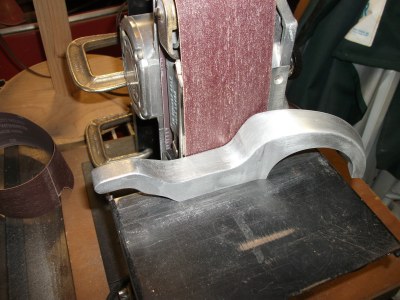
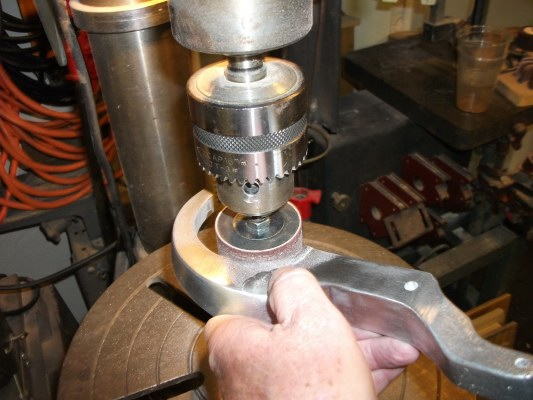
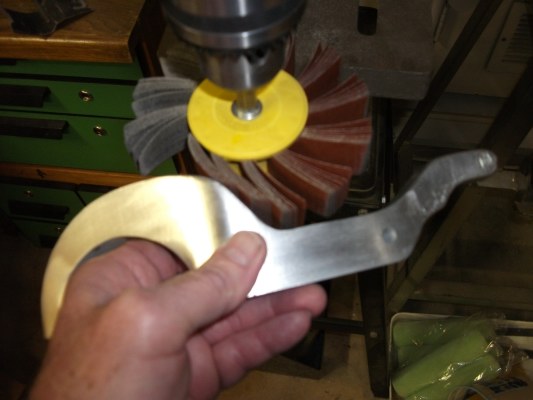
For the inside round portion rough sanding I used a drum sander in the drill press.
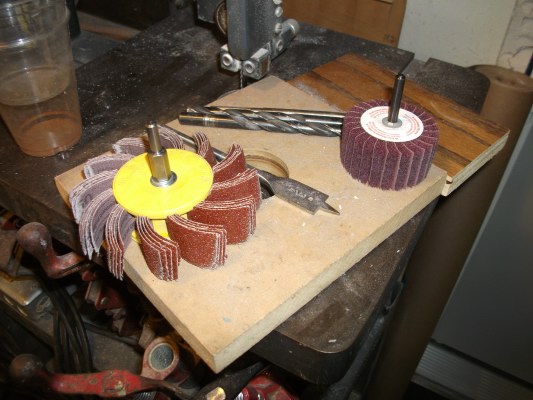
I used coarse, medium and fine and really fine grit sanding flap wheels to do the rough smoothing. Emery wheels would have been better but they were not available.
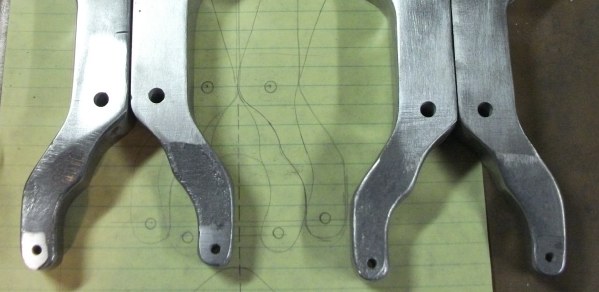
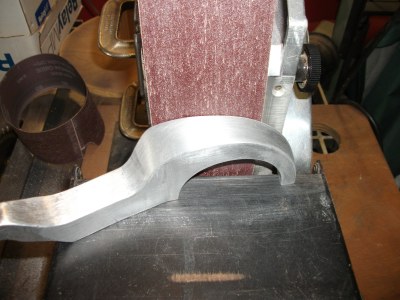
I decided I had better drill the holes in them before going any further with the sanding and polishing to prevent marring them later.
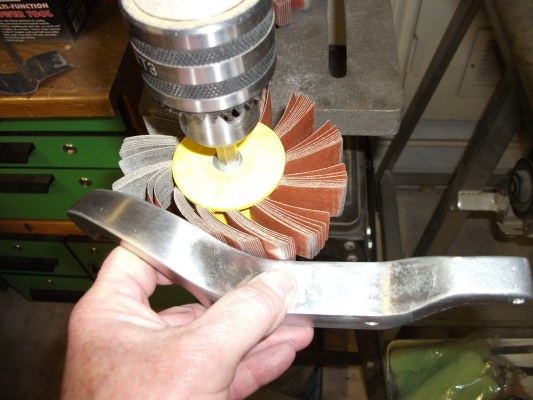
You can see the inside round portion rough sanded.
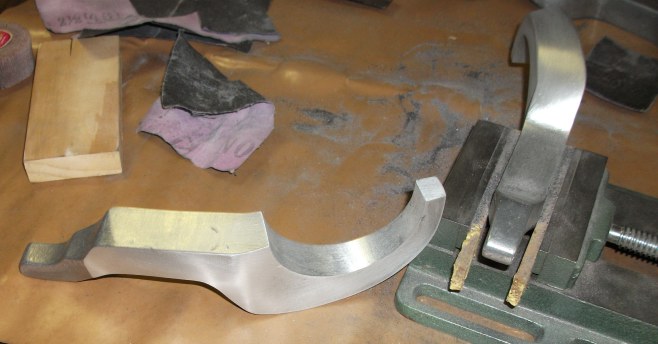
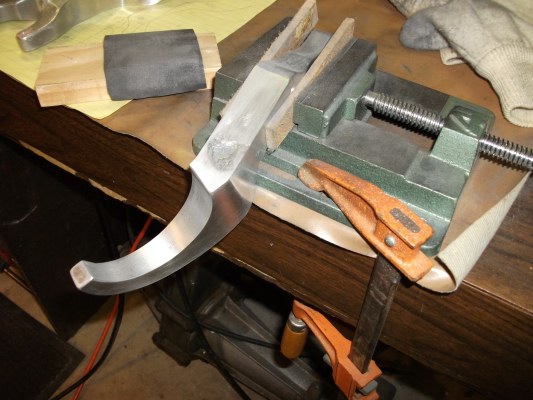
Note use of wood blocks in the vise between the claw and the vise jaws to prevent marring.

A vise helps hold the claw for sanding of the outer portions.
Scrap pieces of wood between the vise jaws and the claw to prevent marring.
A lot of hand sanding is required, even in the initial stages of rough sanding.
Somewhat messy.
You can also wet sand the claws, but in the first sage of course sanding, I decided to dry sand.

You can see that there are still some imperfections, with sand castings there will be some depending on how far you want to take them down. You can always take more off later, but too much in the beginning and there is no turning back!
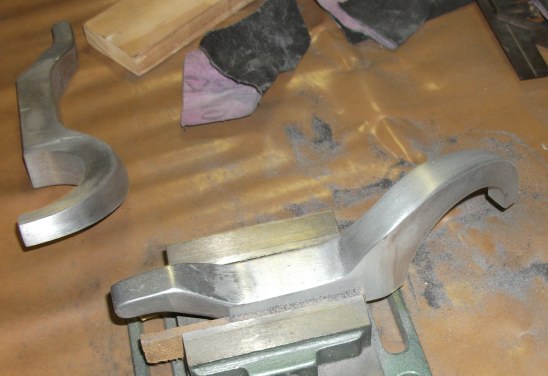
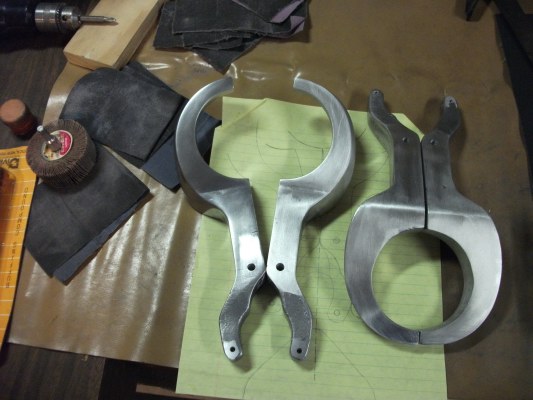
Starting to see some nice shape. Remember this is just the first rough grit sanding. It will be followed by several sandings with finer grit. All of those will be by hand from this point forward. Then a buffing wheel will be used for the final sanding with emery and then polishing.

They are coming along, but I still have a way to go.
More hand sanding of the inner curve.
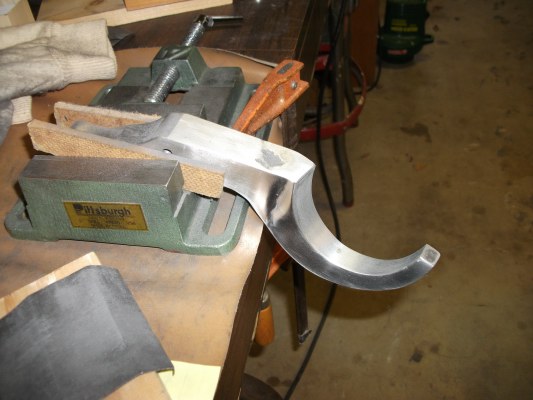
Not done yet, still have to hand sand with several finer and finer grits of emery paper. I will probably wet sand them with the finer grits. Followed by polishing wheel. We will see how they turn out.
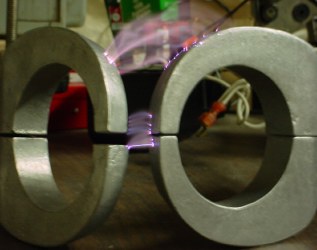
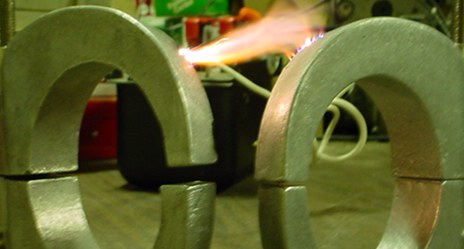
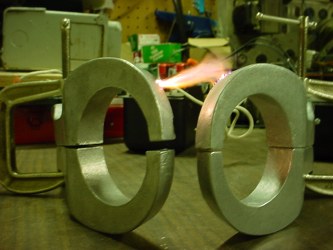
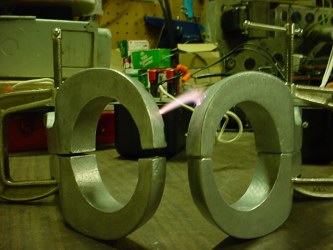
..................CLAW LIGHTNING.....................
JUST FOR FUN, I THOUGHT I'D CREATE A LITTLE LIGHTNING FOR THE ROBOTS CLAWS.
This of course will damage and pit the surface of the aluminum, so you would not want to do it after polishing or painting claws.
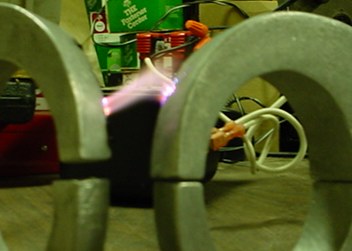
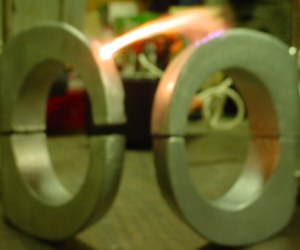
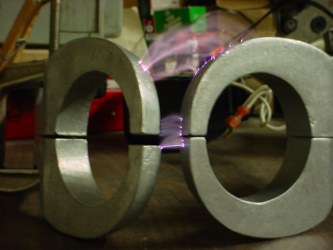
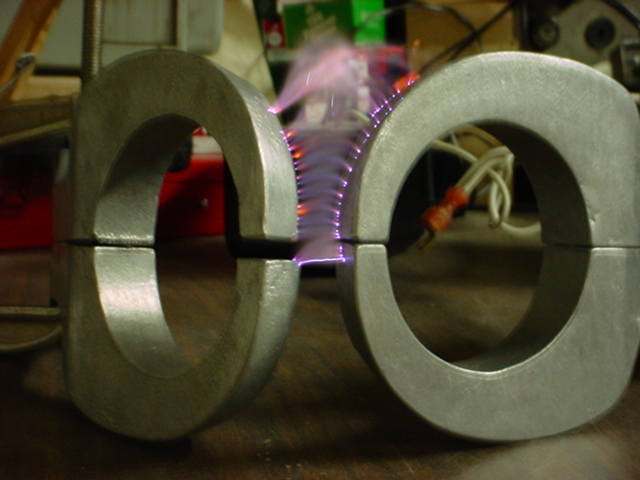
THE ROBOT'S CLAW LIGHTNING.
THIS IS VERY DANGEROUS!!
BUT THE ROBOT DID IT ON THE SHOW, WHY NOT?
OH? WAS THAT JUST A SPECIAL EFFECT ON TAPE?
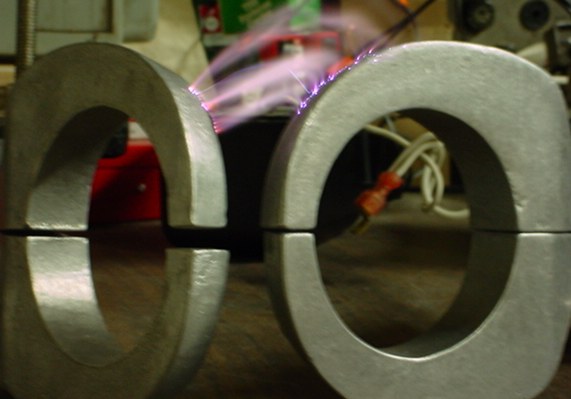
I'M NOT SAYING HOW I DID THIS, BUT AT 16,000 VOLTS AND A HEFTY AMOUNT OF CURRENT, PLEASE DON'T TRY THIS AT HOME, IT REALLY CAN KILL YOU!

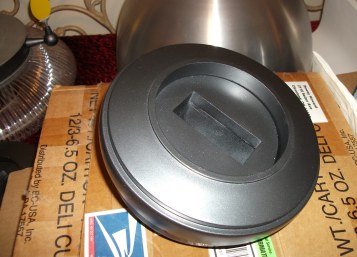
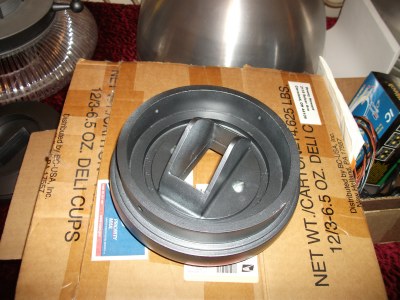
Wrists
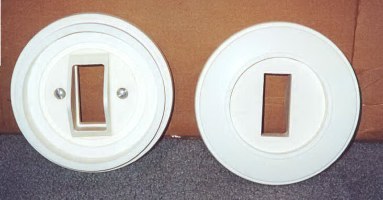
These are resin wrists with rotating centers obtained through the club. They are quite heavy but look nice.
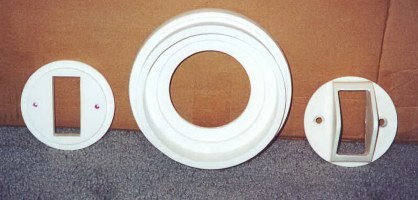
Here is the rotating center and claw mounting bracket removed.
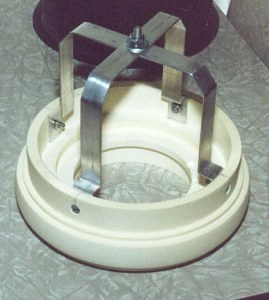
Attached to the wrist is a prototype bracket assembly. It is made from 1/16" thick x 3/4 flat aluminum bar available through a local hardware store. It needs to be strong enough to support the wrist and claw since it will be attached to the arm mechanism. It also needs to be narrow enough to fit inside the molded arm bellows and through the 6" torso arm hole when full retracted.
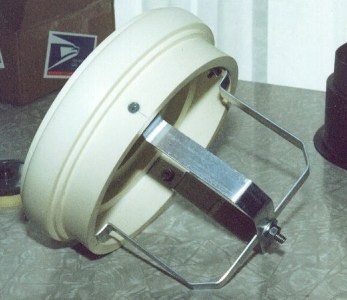
Another view of the wrist bracket. Note countersunk mounting screws.

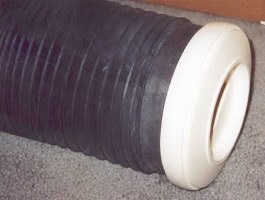
You can see I have placed the wrist on neoprene arm bellows (1st generation from Norm Sockwell, club member). I found a 6" arm socket hole allows a perfect fit to the Torso for the flange on the arm bellows. The wrist bracket is fully enclosed within the bellows.
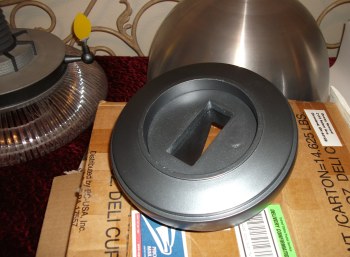
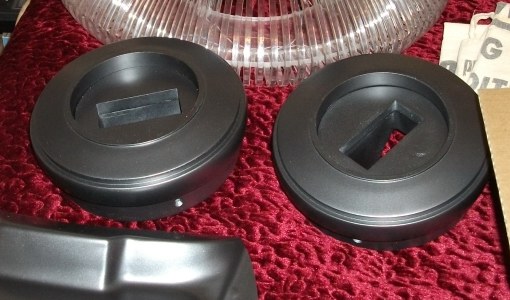
I spray painted the wrists with Gunmetal Gray.
Go to Collar
Stay tuned - More to come
PAGE UNDER CONSTRUCTION