Bob's Lost In Space B9 Robot Project | home
Misc. Parts | Motor Shaft Extensions | Knees & Hinges | Treadsections | Tread Making | TreadMaking from Tires | Drive Parts | Drive & Tread Installation | Tread movie | Barry's Tread Movies | Drive Upgrade | Legs | Donut & Waist plate | First Stackup | Torso | Neon | Arms | Microphone & Knob | Chest Buttons | Power Pack | Torso Vents Misc | Making Vents | Large Vent Drawings | Arm Mechanism #1 | B9 Arm Mech Dev. | Wrists & Claws | Collar | Radar | Motorizing Ears | Making Sensors | Brain | Brain Cup & Light Rods | Bulbs & Wiring Diagrams | My Old Robots | B9 Builder's & Info Sites | Related Links | Building Reference Info | Parts Drawing Links | Site Revisions | Final Leg Assembly | Leg & Hip Assembly | Leg-Hip Action | Non-B9 Projects | 2008 TX BUILD-OFF | 2008 TX BUILD-OFF PAGE 2 | RoboCon 2009
Leg & Hip Movements
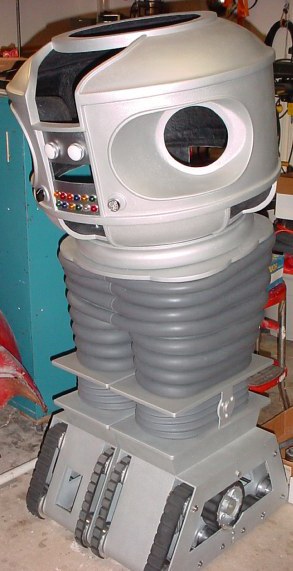
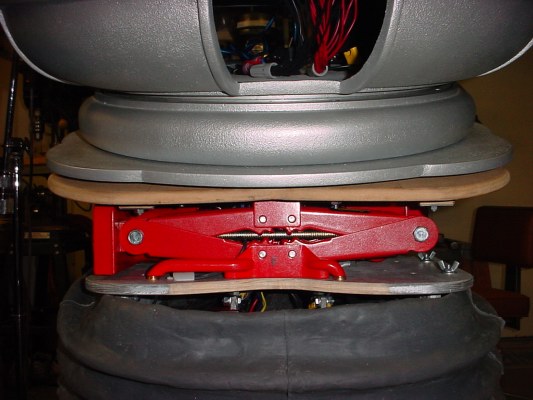
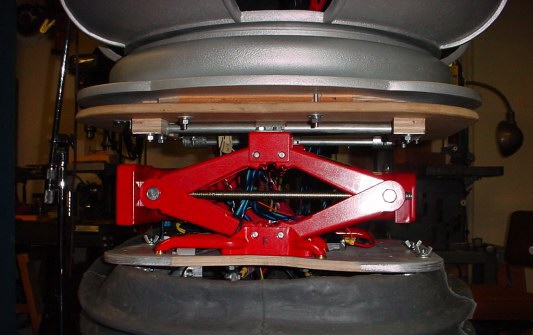
You can see in this series of pics how the mech works with the rubber legs in place. He can raise straight up or down by 3" for this set of legs and lean both forward and backward. Right now it is just manual control, but this will eventually be integrated into the radio controls and some automatic functions. The mechanism has capability for the full height legs too. It can raise even higher.
This compares 14-1/2" on the left to 17'1/2" high on the right.
Measured from top of kneeplates to bottom of waistplate.
(Should have put the camera on a tripod for identical shots, but you can see the diff in the leg section anyway)
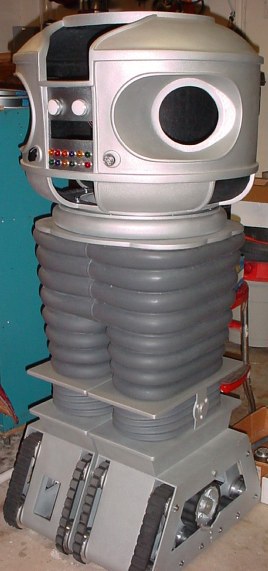
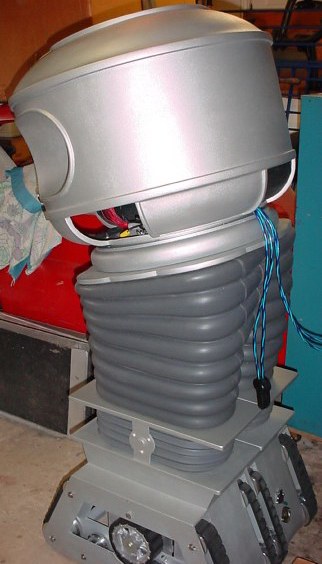
And he leans back too!


With my particular leg setup you can slip the legs down and turn them inside out to access the hip section.
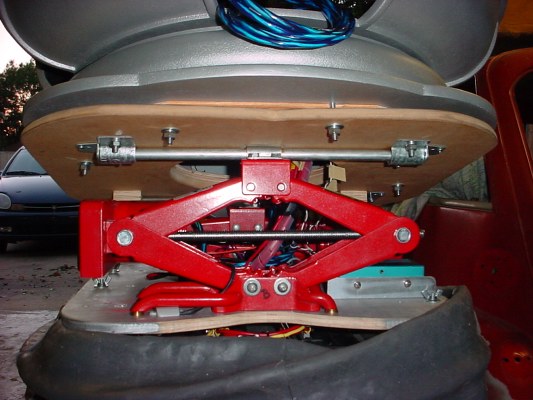
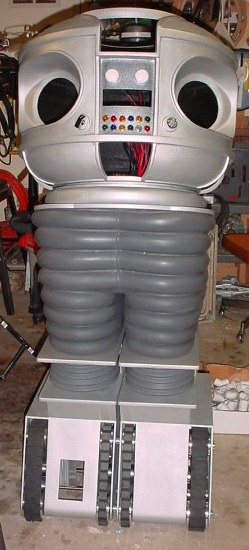
You can see the back of the Vantec controller for the treadsection motors on the lower right; green item mounted to an aluminum angle. This is a back view leaned forward, note I selected the back for the fixed pivots on the bottom of the sub-waistplate.
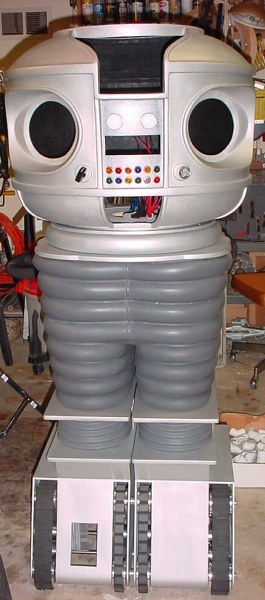
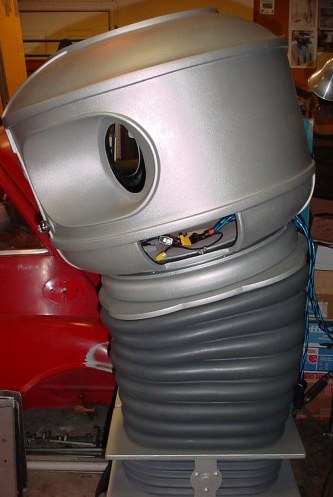
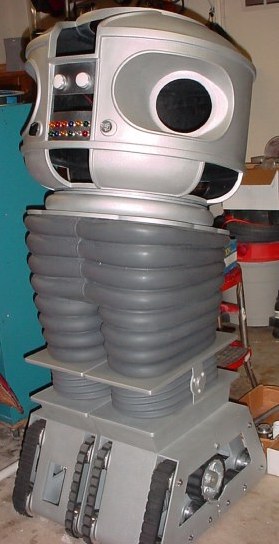
This is a front view leaned forward.
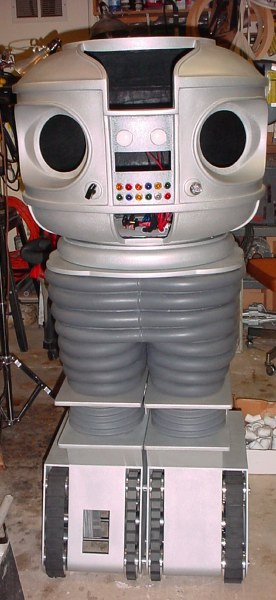
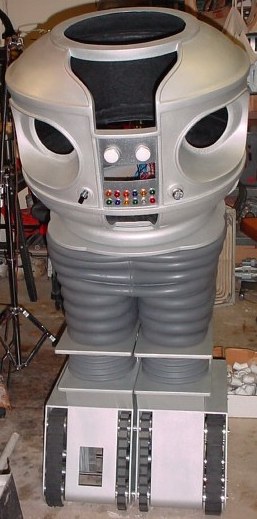
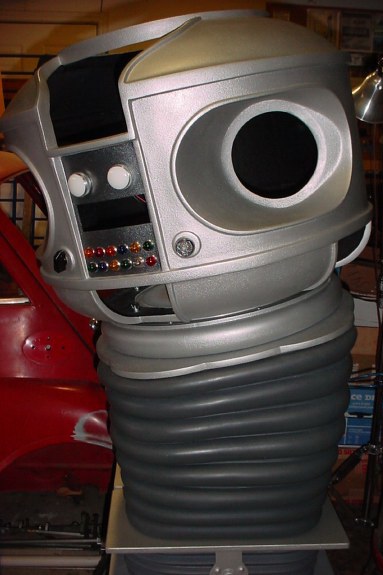
Front view elevated straight up.
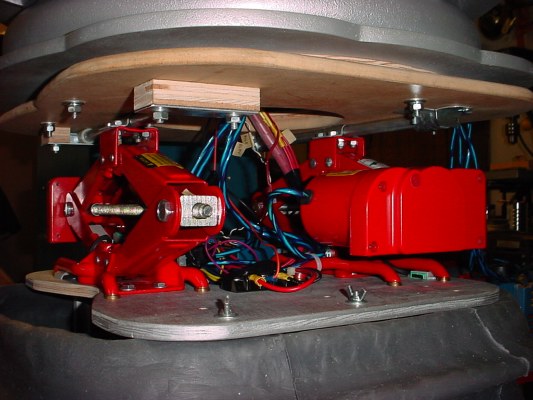
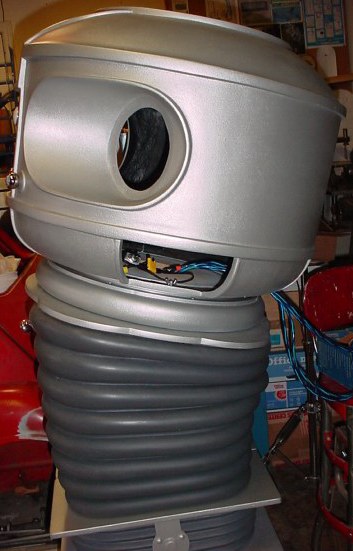
Just another view of the temporary wiring setup. You will find that adding a lot of mechanical items adds a lot to your wiring.
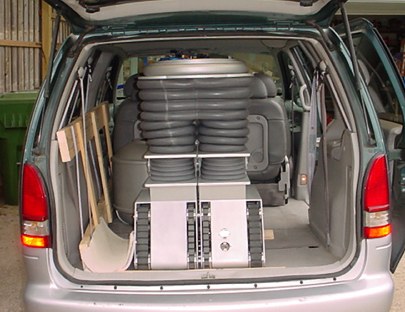
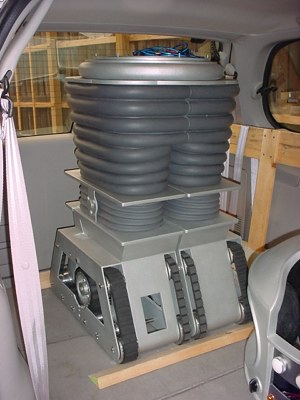
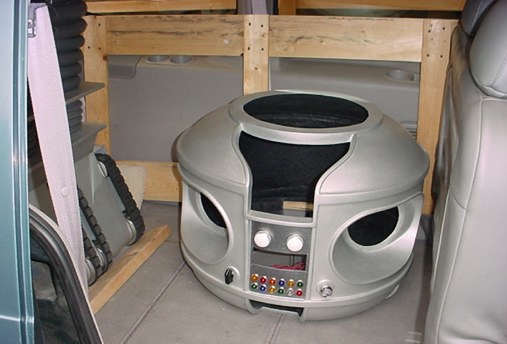
Loaded up to go to the buildoff, Legs all the way 'down' to fit into the van. I didn't get a picture of putting him in on the ramp, but the ramp is on the left in the van. It was too steep to drive him up the ramp, so I pushed him.
Off to the Build-Off
More To Come