Bob's Lost In Space B9 Robot Project | home
Misc. Parts | Motor Shaft Extensions | Knees & Hinges | Treadsections | Tread Making | TreadMaking from Tires | Drive Parts | Drive & Tread Installation | Tread movie | Barry's Tread Movies | Drive Upgrade | Legs | Donut & Waist plate | First Stackup | Torso | Neon | Arms | Microphone & Knob | Chest Buttons | Power Pack | Torso Vents Misc | Making Vents | Large Vent Drawings | Arm Mechanism #1 | B9 Arm Mech Dev. | Wrists & Claws | Collar | Radar | Motorizing Ears | Making Sensors | Brain | Brain Cup & Light Rods | Bulbs & Wiring Diagrams | My Old Robots | B9 Builder's & Info Sites | Related Links | Building Reference Info | Parts Drawing Links | Site Revisions | Final Leg Assembly | Leg & Hip Assembly | Leg-Hip Action | Non-B9 Projects | 2008 TX BUILD-OFF | 2008 TX BUILD-OFF PAGE 2 | RoboCon 2009
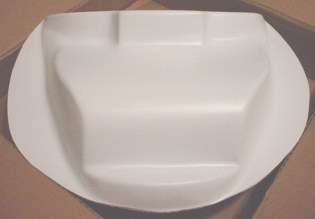
Neon Backplate vacuformed from styrene plastic. Newer version is still available through the club.
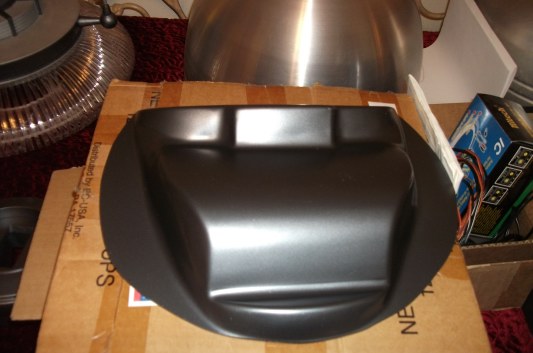
First thing I did was to paint the neon backplate with the Gunmetal grey paint.
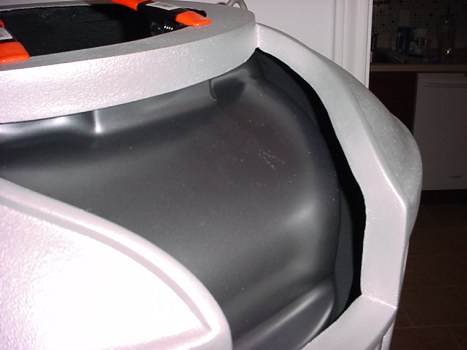
With this backplate, I first had to determine location in the torso. I clamped in in place in the desired location.
Then drilled holes to mount it.
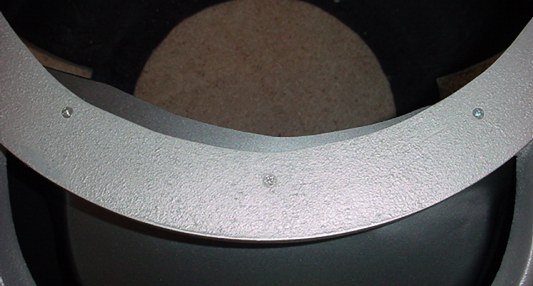
I used 3 # 6-32 flathead screws and countersunk the holes so the screwheads are flush. Be careful when countersinking as there is not much thickness of material to work with.
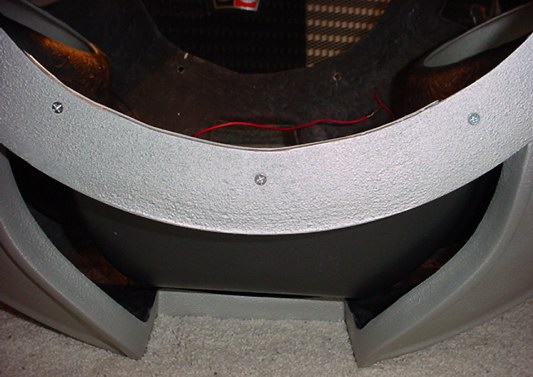
I trimmed the backplate edge even with the top torso opening. Used a razor knife to cut the styrene with several passes to cut through it.
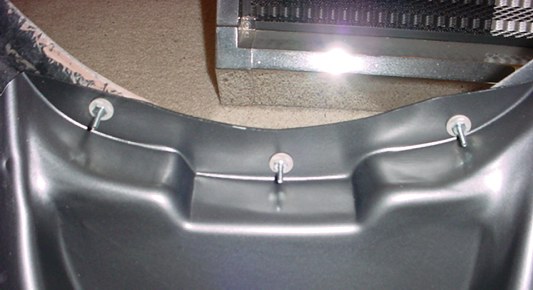
Inside view. Use washers.
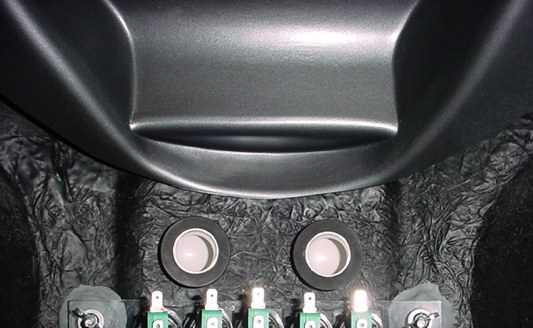
With this backplate I have to provide support for the bottom of it. The current club backplate extends lower and mounts with two large holes with the two large chest light sockets. The only negative to that is it makes it difficult to later remove the neon assembly if desired for repair or service.
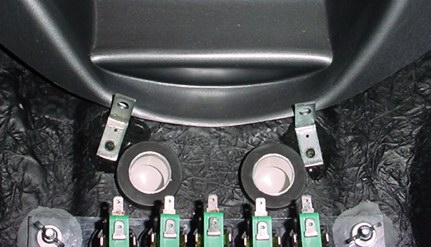
I experimented with different ways of support and decided to epoxy the two right angle brackets to the torso to support the backplate. Not shown, I covered the protruding portion of the bracket with heat shrink tubing. If necessary I can attach more support to this, but does not seem necessary at this point. Removal of only the top 3 screws will allow for removing the entire neon assembly with the backplate without removing the large chest lights wiring and nuts.
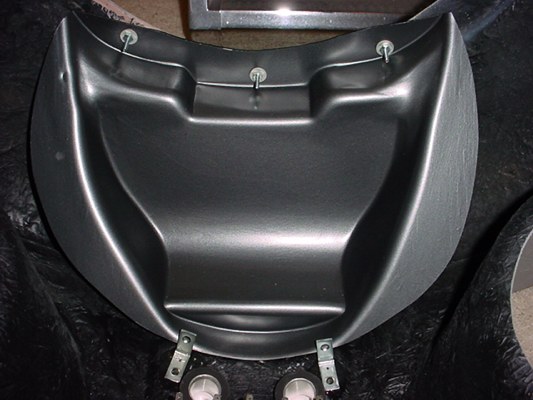
Picture showing top and bottom mounting.
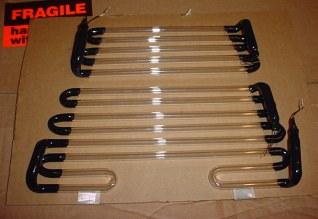
This is my Neon. It is an older version.
It is constructed in 2 pieces since it has to fit the opening in the torso. Available through the club.
More To Come when I get back to assembly of the neon to the backplate.