Bob's Lost In Space B9 Robot Project | home
Misc. Parts | Motor Shaft Extensions | Knees & Hinges | Treadsections | Tread Making | TreadMaking from Tires | Drive Parts | Drive & Tread Installation | Tread movie | Barry's Tread Movies | Drive Upgrade | Legs | Donut & Waist plate | First Stackup | Torso | Neon | Arms | Microphone & Knob | Chest Buttons | Power Pack | Torso Vents Misc | Making Vents | Large Vent Drawings | Arm Mechanism #1 | B9 Arm Mech Dev. | Wrists & Claws | Collar | Radar | Motorizing Ears | Making Sensors | Brain | Brain Cup & Light Rods | Bulbs & Wiring Diagrams | My Old Robots | B9 Builder's & Info Sites | Related Links | Building Reference Info | Parts Drawing Links | Site Revisions | Final Leg Assembly | Leg & Hip Assembly | Leg-Hip Action | Non-B9 Projects | 2008 TX BUILD-OFF | 2008 TX BUILD-OFF PAGE 2 | RoboCon 2009
Motor Shaft Extensions
I found a very simple way to make an extension for the Dewert Motor driveshaft.
Here is a series of pics I took when I assembled my motor shaft extension. It works real slick and provides a heavy duty extension to the motor shaft capable of transferring a lot of torque for several different robot animation devices.
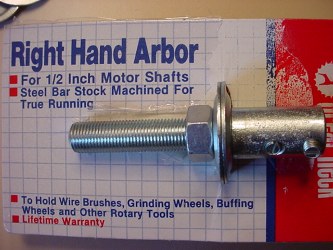
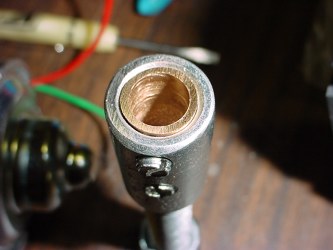
I purchased a 1/2" motor arbor..........
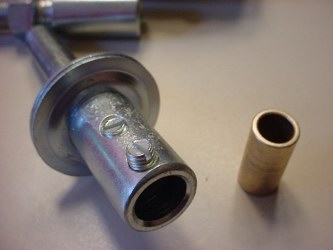
........and a bushing that is 3/8" ID and 1/2" OD and then I drilled it out with a size X drill bit (which is .397"), the motor shaft is 10mm which = .3968" so this worked perfectly.
Letter size X may be hard to find so you can use the the next closest size 25/64" (that equals .390625) buy the time you drill it out you'll have enough slop in the process that it will fit the shaft, or you can use some emery paper wrapped around a smaller bit to ream it out more.
In leiu of all of this, just get your rat tail file out and work on it for a while until it slides on the shaft, that's what Dan L. (club guy) did when he couldn't find the drill bit.

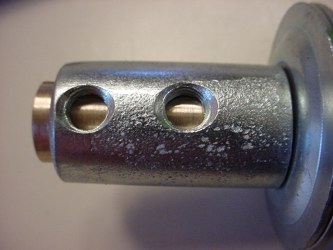
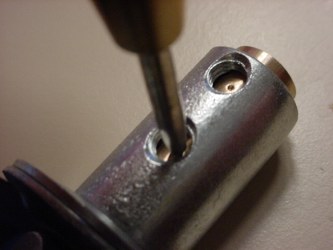
Then I inserted it into the arbor and centerpunched the set screw hole locations.
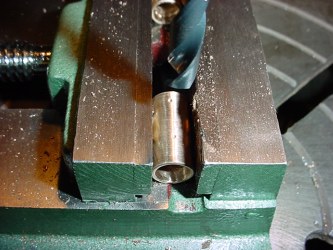
Now drill oversized clearance holes in the bushing for the set screws in the arbor to pass through. Take it easy when drilling through bronze bushings, or you will break them. If you have steel bushings, that shouldn't be a problem.
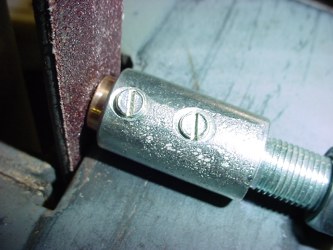
Next I sanded the end of the bushing down to the same length as the arbor.
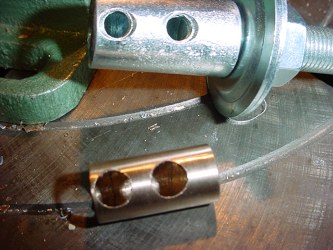
Here are the two pieces separately.
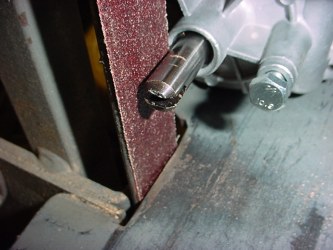
Then I sanded and filed a "flat" on the motor shaft perpendicular to the slot so the set screws can lock down on it and prevent the arbor from slipping on the shaft.
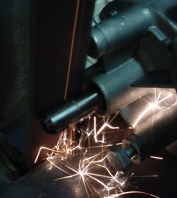
It does make lots of nice sparks!
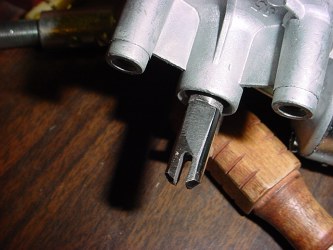
Flat on shaft.
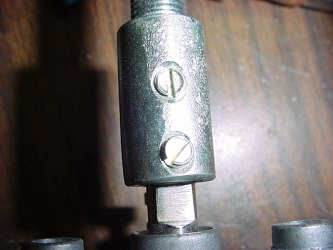
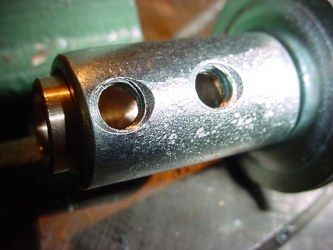
Slip the arbor extension with the bushing on motor shaft and lock down the setscrews to the flat on the shaft.
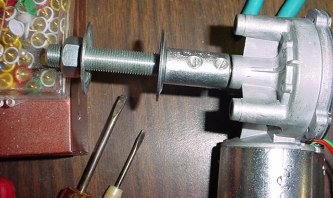
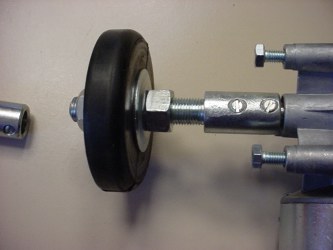
Now you can attach any wheel, pulley or whatever to the shaft extension.
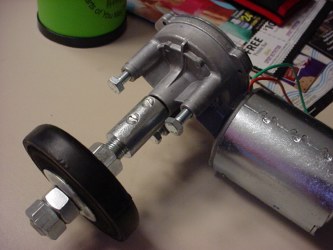
You can either double nut the wheel or use lockwashers between two nuts to hold it in place. You could also drill an pin something to the arbor shaft if you wanted to. I picked up a few extra 1/2" fine thread nuts to allow attaching various drives to the shaft. The wheel above/below is made from the cut off end of a rubber boat trailer spool roller. Click here to see where the wheel came from.
The nice part of this is that the arbor costs $4 to $5 and the bushing costs $1.68 at the hardware store. Be sure to buy more than one bushing, I actually screwed one up drilling it out the first time. That's all part of figuring it out.
Go to Knees and Hinges