Bob's Lost In Space B9 Robot Project | home
Misc. Parts | Motor Shaft Extensions | Knees & Hinges | Treadsections | Tread Making | TreadMaking from Tires | Drive Parts | Drive & Tread Installation | Tread movie | Barry's Tread Movies | Drive Upgrade | Legs | Donut & Waist plate | First Stackup | Torso | Neon | Arms | Microphone & Knob | Chest Buttons | Power Pack | Torso Vents Misc | Making Vents | Large Vent Drawings | Arm Mechanism #1 | B9 Arm Mech Dev. | Wrists & Claws | Collar | Radar | Motorizing Ears | Making Sensors | Brain | Brain Cup & Light Rods | Bulbs & Wiring Diagrams | My Old Robots | B9 Builder's & Info Sites | Related Links | Building Reference Info | Parts Drawing Links | Site Revisions | Final Leg Assembly | Leg & Hip Assembly | Leg-Hip Action | Non-B9 Projects | 2008 TX BUILD-OFF | 2008 TX BUILD-OFF PAGE 2 | RoboCon 2009
Donut & Waistplate
The donut and waistplate was made from Mark Thompson's Bermuda Triangle plans.
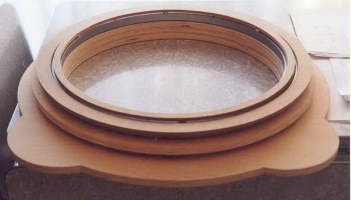
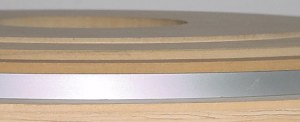
The middle 1/2" plywood ring gets covered with pipe insulation to form the donut. The silver item is the Rockler lazy susan bearing to rotate the torso.
Edges of plywood waistplate filled with wood filler and sanded, prior to priming, texturing and painting.
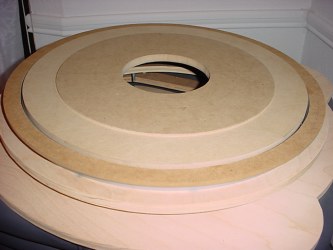
I recently acquired a wooden donut originally made by Chris Galema several years ago. I am going to use this one instead of the pipe insulation method from the plans above. I also considered making a donut from electrical conduit or pvc piping, but either of those has proven too difficult to form. This wooden donut has been shipped all over the country to its previous owners, 2 of which I am aware of, and it shows no signs of deterioration, cracking of seams, etc. It previously had never been finish painted, only a coat of primer.
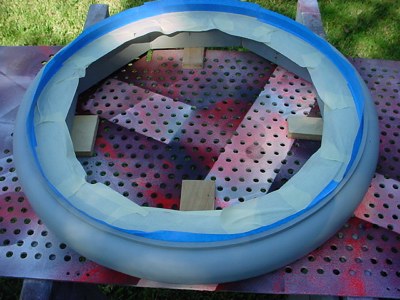
Masked, new coat of primer, prepared for texturing.
Flexstone texture added, same process as torso and treadsections. Sprayed on and ready to sand and paint.
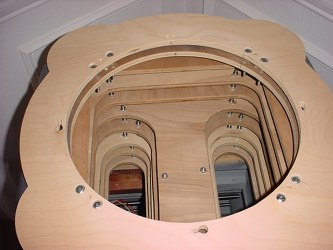
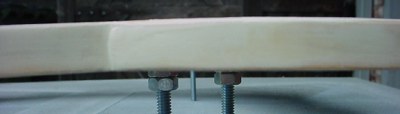
I decided to mount it to the legs with eight 1/4" carriage bolts in pairs. This gave more strength & stability.
Countersink the heads so the donut ring will sit flush on top of them.
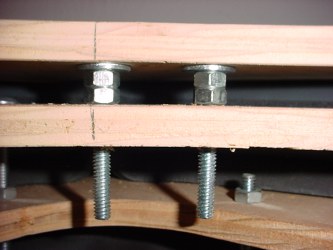
The height spacing worked out to use 2 nuts and a washer. I haven't installed the bottom washers & nuts yet as the assembly will be removed to be painted.
This is the support plate for the torso and internal torso components. It is made from 1/2" MDF and is cut down to 3/8" thick around the edge in a couple of inches (this is where the torso mounts). It takes the place of the inner top ring in Mark's plans for this part and allows the torso to set on it at the proper height above the donut. See below.
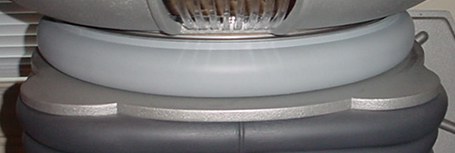
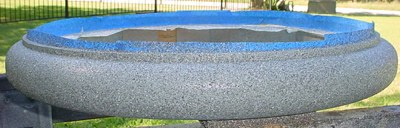
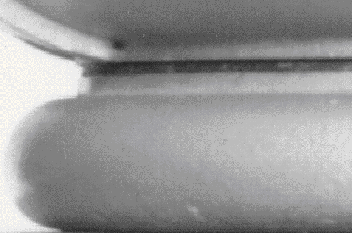
With the 1/4" donut outer top finish ring in place only 1/8" of the platform edge will be visible from the base of the torso. This should be about right as per the following photo of the real robot.
Torso to donut spacer.
"Starting" the Torso Rotation Mechanism
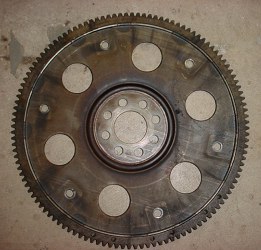
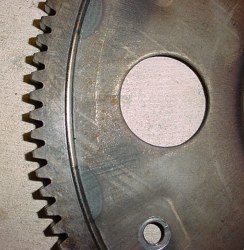
This is a 12" diameter starter gear from a junk engine I saw at a local garage. I had the guys there remove it, paid them $10 for it, but you can probably get one cheaper if you go to a junkyard. I plan on using it to attach under the support plate to turn the robot at the waist with a motor and drive gear.
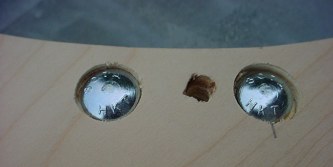
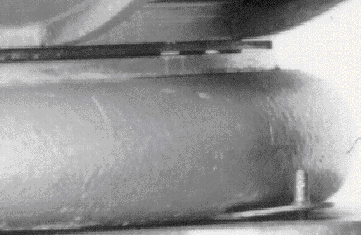
What is that piece of metal on the corner of the waistplate below the donut?
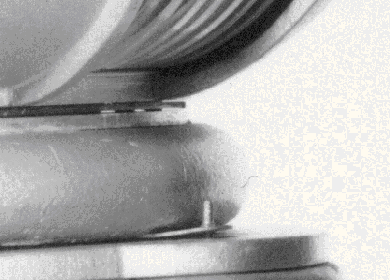
The Upper Torso/Donut Lock.
I've never seen any dimensions on it, if you want to add it, I'd use your best guess.
Looks to me like 3/4" wide, 1/16" thick with a 3/16" bolt & nut.
(Note in the second picture the spacer between the torso and the donut.)
.........you can see the locking device attached to the bottom of the donut.
It is a piece of bent metal with a hole in it. On the waistplate is a
bolt coming through the bottom. When the donut is in place, the
locking device slips over the bolt and a nut is put on top on the bolt
so the upper torso can't come loose from the waist section.
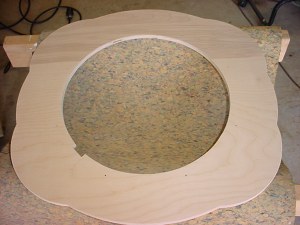
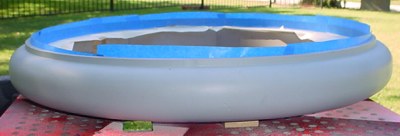
I had to remake the waistplate to fit the new rubber legs, so I used the one from the clubsite.
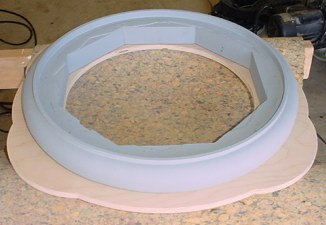
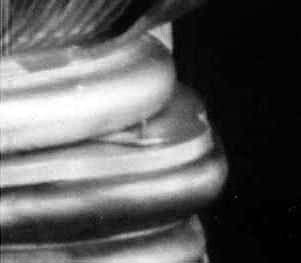
Here it is with the donut on it.
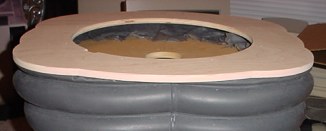
And on top of the rubber legs.
Go to First Stackup
Go to Torso
Or
go to Final Assembly to see how it all is going together.