Bob's Lost In Space B9 Robot Project | home
Misc. Parts | Motor Shaft Extensions | Knees & Hinges | Treadsections | Tread Making | TreadMaking from Tires | Drive Parts | Drive & Tread Installation | Tread movie | Barry's Tread Movies | Drive Upgrade | Legs | Donut & Waist plate | First Stackup | Torso | Neon | Arms | Microphone & Knob | Chest Buttons | Power Pack | Torso Vents Misc | Making Vents | Large Vent Drawings | Arm Mechanism #1 | B9 Arm Mech Dev. | Wrists & Claws | Collar | Radar | Motorizing Ears | Making Sensors | Brain | Brain Cup & Light Rods | Bulbs & Wiring Diagrams | My Old Robots | B9 Builder's & Info Sites | Related Links | Building Reference Info | Parts Drawing Links | Site Revisions | Final Leg Assembly | Leg & Hip Assembly | Leg-Hip Action | Non-B9 Projects | 2008 TX BUILD-OFF | 2008 TX BUILD-OFF PAGE 2 | RoboCon 2009
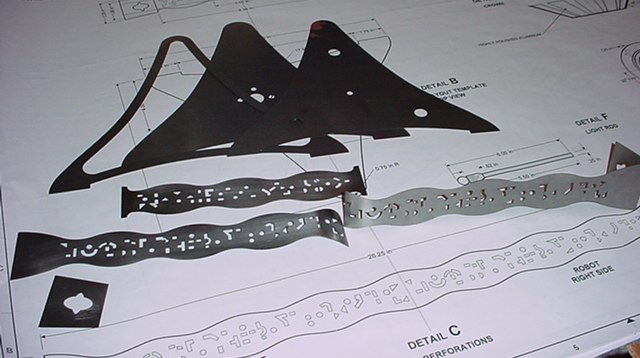
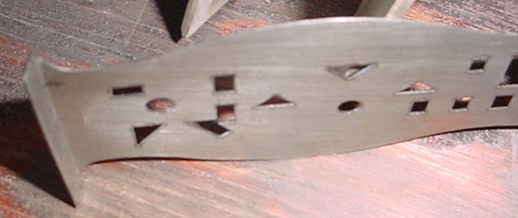
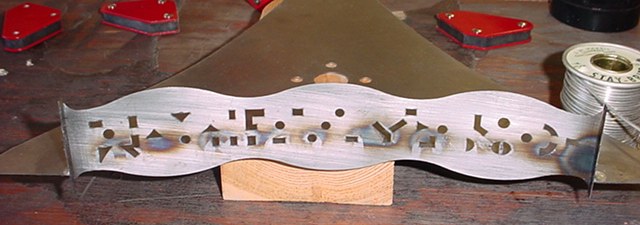
This is an older Brain kit I acquired second hand, originally available through the club. A few problems were enountered here with forming the pieces for assembly by the original owner, but I can work those out. At least I didn't have to cut out all those little holes by hand. I believe the newer brain kits are more dimensionally accurate and some overall dimensions have changed like total width by about 1/4" , but in the end no one will ever know!
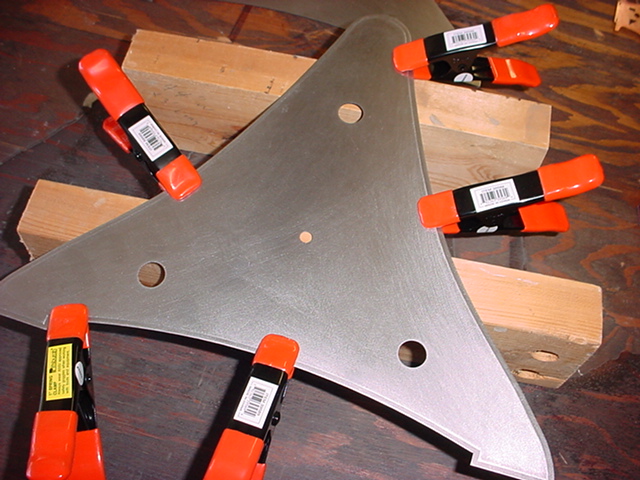
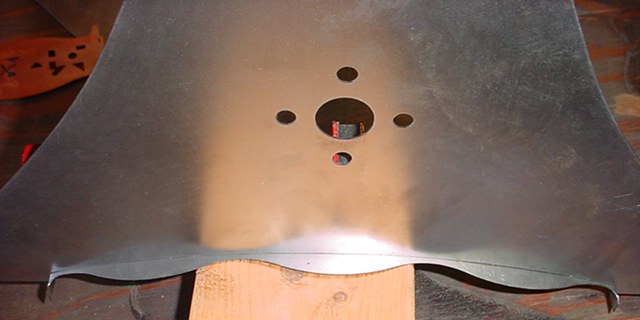
The pieces had a little rust on them so I sanded them on a flat surface with my oribital sander using 100 & 150 grit sandpaper. I centered and clamped the top cover plate on the top support piece to dirll mounting holes. It will be a lot easier to drill the holes before assembly.
Pretty easy to center by eye. You can measure it if you want to all around, but I didn't.
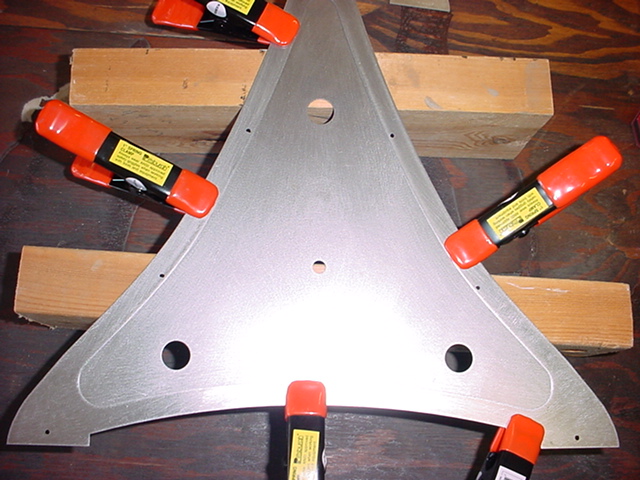
Next I flipped it over and marked where I wanted to put holes. It really doesn't take many to hold it in place, but I did several.
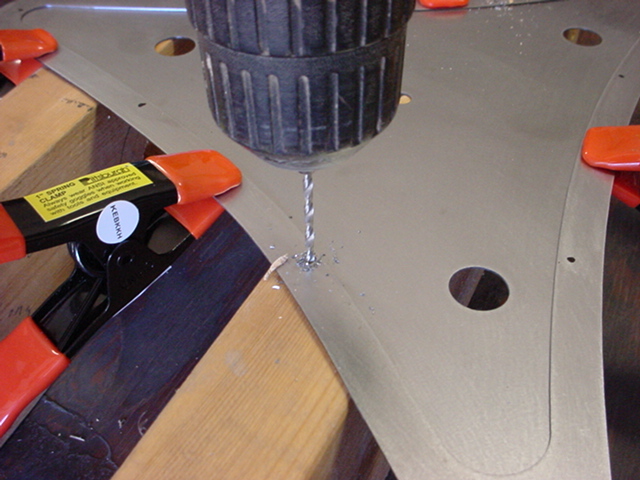
Drilled them through both and then enlarged just the top plate holes just enough for clearance holes for the screws. This is much easier than drilling them after assembly.
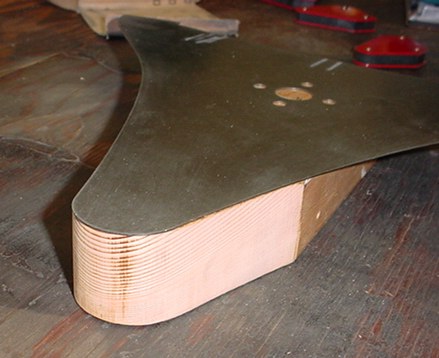
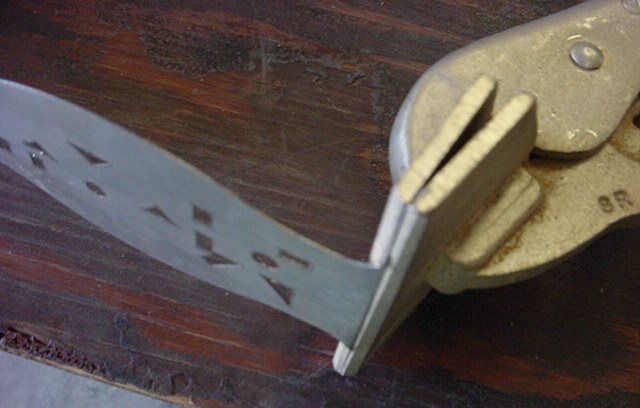
Bending the wraparound can be tricky, so I traced the bottom plate and made a simple jig from a picece of 2x4.
I marked the center of the wraparound piece and center of the jig and carefully formed it.
This is just a wraparound piece to show this method, not actually the one I used. My original was broked in the back so I had to assemble it in two pieces, but the jig worked to form the curve on the two pieces with some difficulty and patience, and a hammer.

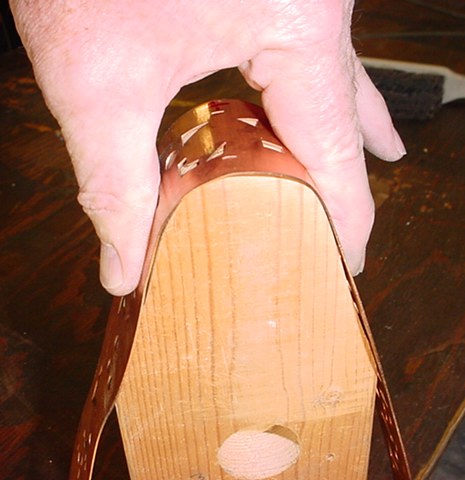
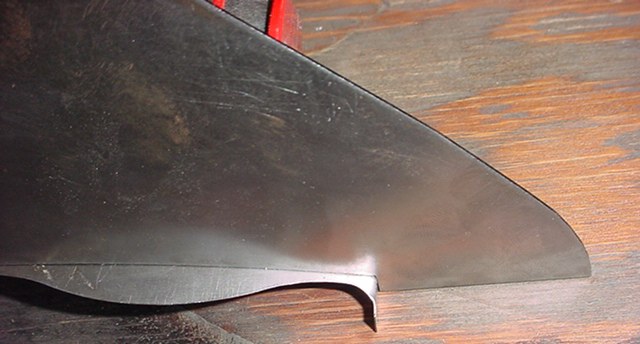
The front piece is a little different than the current club design so I had to bend the ends of it.
Simple really with the right tool.
Bent a little less than 90 degrees.
Makes a nice bend.
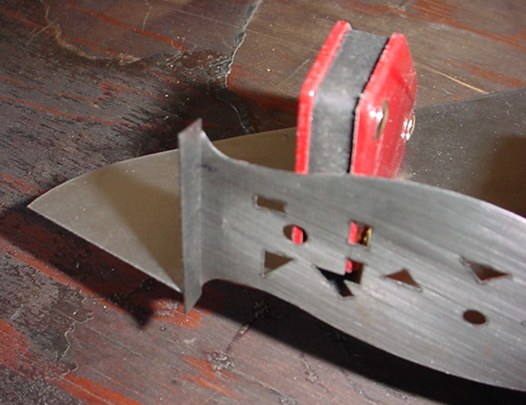
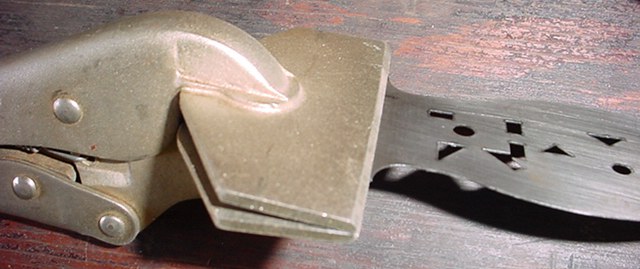
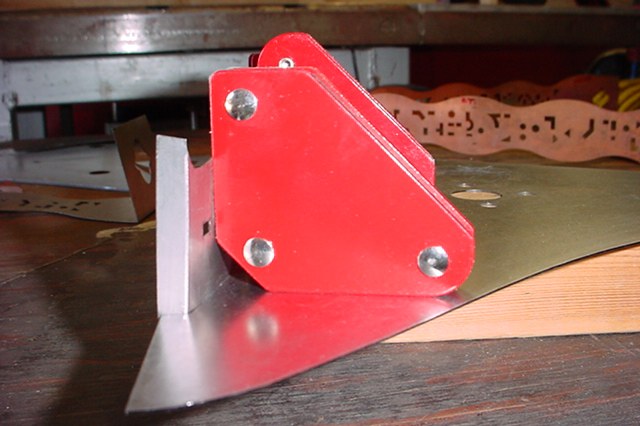
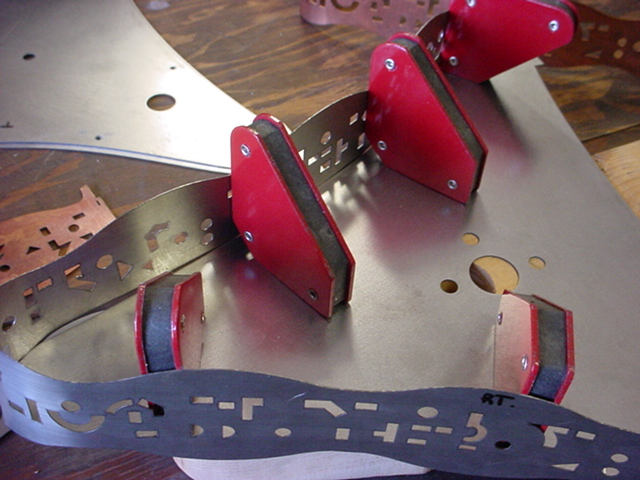
And fits! Note the welding magnet.
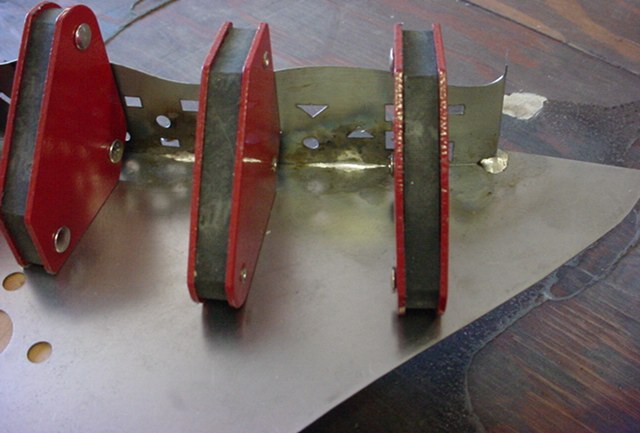
These are the welding/assembly type magnets, from Harbor Freight, that provide a nice right angle assembly. Makes it a lot easier. Of course you have to have a steel brain for this to work. It takes several magnets to hold the pieces in place.
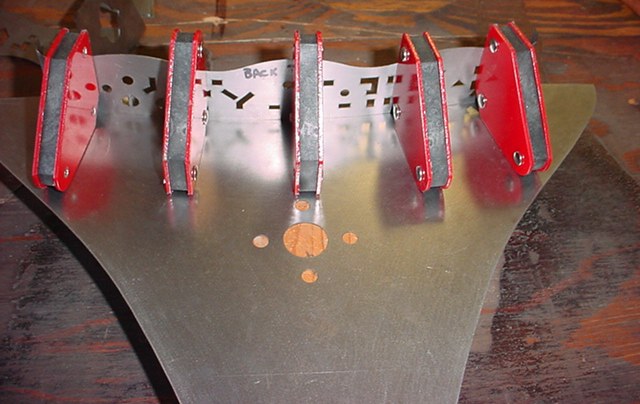
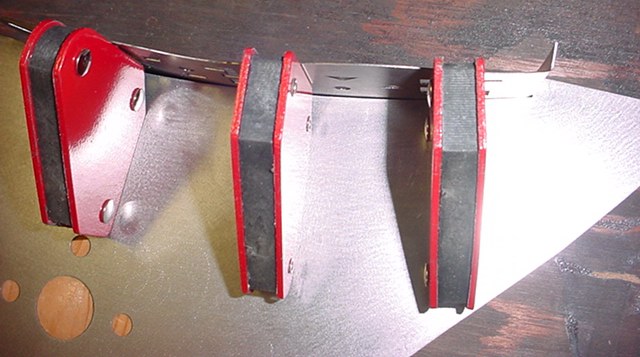
Lets you get everything lined up the way you want it.
The magnets have a diagonal cut corner, so you can actually work below them on the seam if desired.
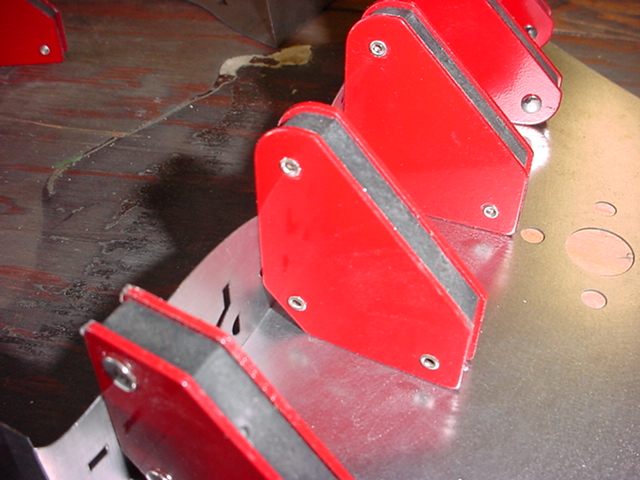
Another view.
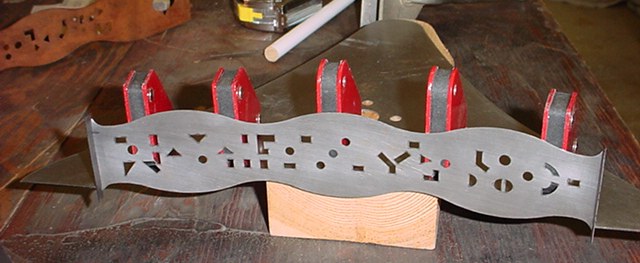
Front
Bottom. Be sure to check the alignment and spacing on the bottom that you want. I never really saw a dimension on this so looked at other pictures and this looked about right to me.
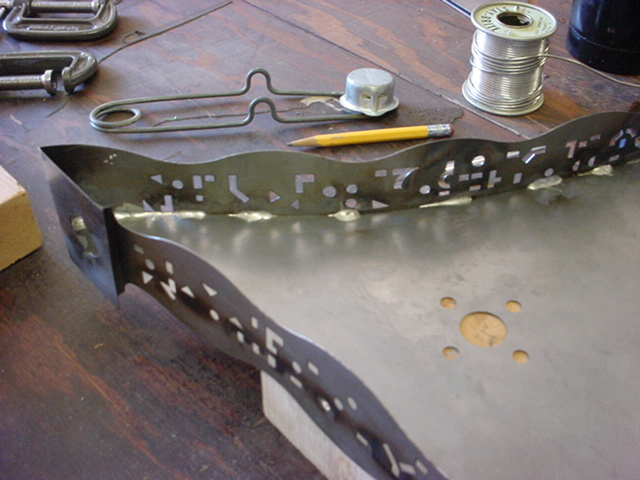
I used a paste flux and soldered in between the magnets. Word of advice - get the micro torches from Harbor Freight like most guys recommend. I used my full size butane torch and the large flame is really hard to deal with and it is easy to overheat with it. Proved to be a lot of trouble.
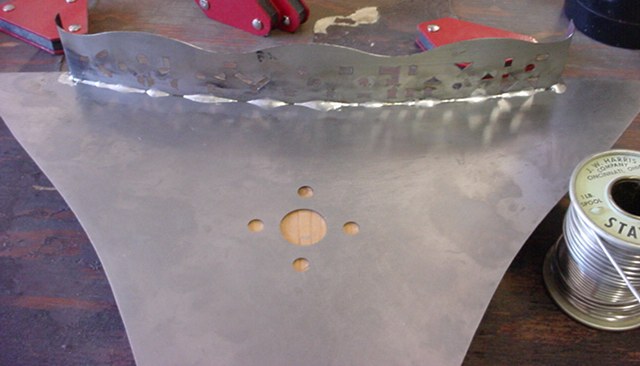
I went back and filled in between where I had the magnets, but not really necessary and on the rest of my assembly I didn't do a full solder seam. I suppose if there is any crack light could escape but I don't think that's a concern.
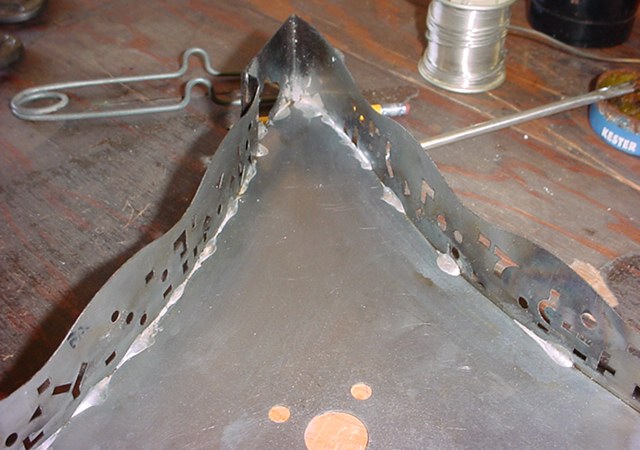
More fitting. I messed with it a lot to get the wraparound pieces to fit since mine was broken in two. Then had to solder the backside too.
You can see I just soldered between where I had magnets. I did do a little additional clamping against a wood block to hold the seam tight in places where the magnets didn't quite hold everything exactly like in the eye corners. Hard to take pics of that while holding a torch, solder and squinting just the right way to make it work!
Not real pretty, but you won't see it after paint and assembly anyway.
And again, use the micro torches and you can concentrate the heat just where you need it. It would have been worth the trip to Harbor Freight, but live and learn.
Also I forgot to take a picture, but the top support piece will fit in snugly and stay in place after you've finished all the wraparounds. You don't have to use the magnets, except for maybe a couple. And you can easily solder it in place, you can see it installed in the next pictures.
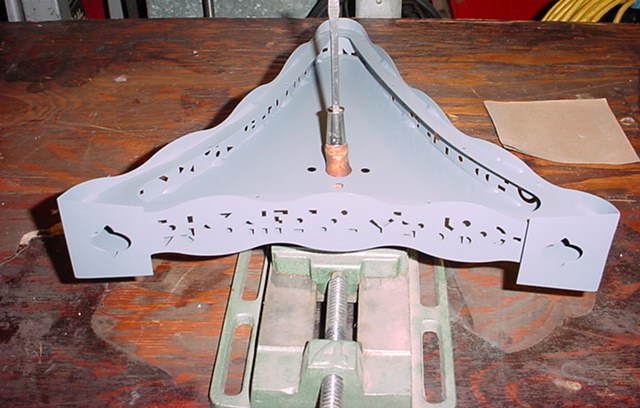
Looks pretty good with a coat of primer. Clean it up and prime it asap after soldering so you don't get new rust.
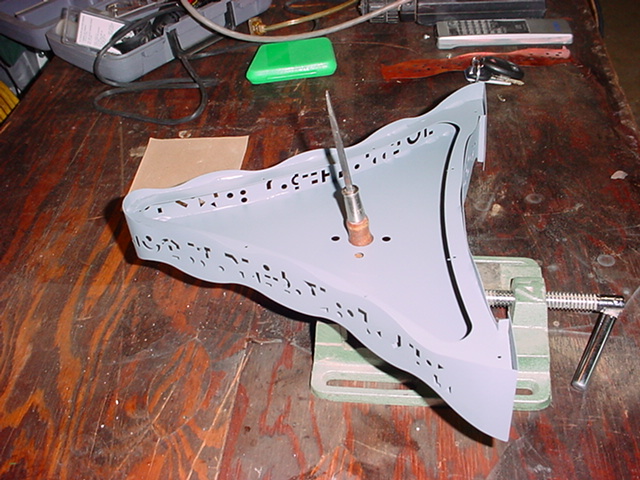
Ready for a little sanding on the primer and a finish coat of GunMetal paint. Although I am tempted to paint it silver I always thought the GunMetal Gray was very dark on the brain. Well, Ill probably stay true to the original..........