Bob's Lost In Space B9 Robot Project | home
Seeburg Classic Restoration
Following are a sequence of pictures during my restoration of this truly "Classic" 1939 Seeburg Jukebox.
I've made a few short notes to describe photos.

Cabinet stripped of all components. Original condition of finish.
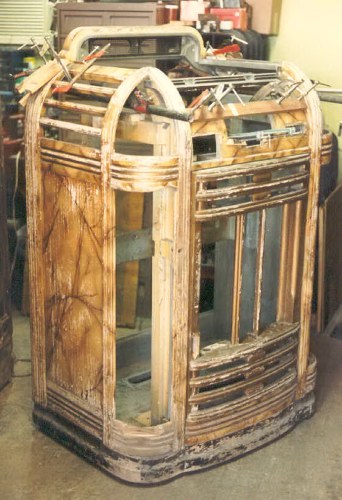
First reglued all joints using "Titebond" wood glue.
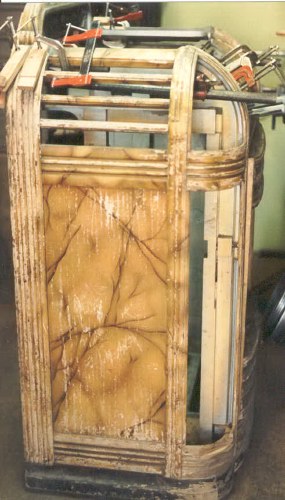
More regluing and repair before removing old finish. Seeburg made these in several finishes depending on the type of location it was to be used in. Many had stained finish for the more classy places and the painted ones went in the soda fountains.
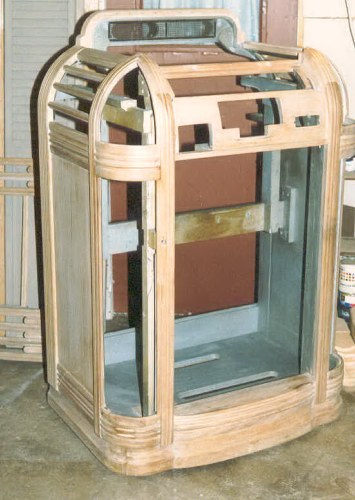
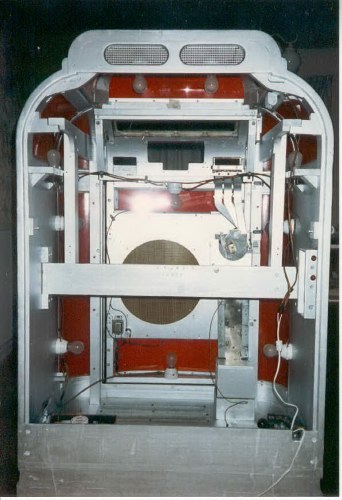
After all old finished sanded off by hand. Other repairs made as needed and outside of cabinet sealed stained and finished. The stain was applied to simulate an antiqued finish. Clean and lightly sand inside as needed, then inside of cabinet repainted silver with foam brush.
Installing plastics, reworked lighting and coin mechanism.
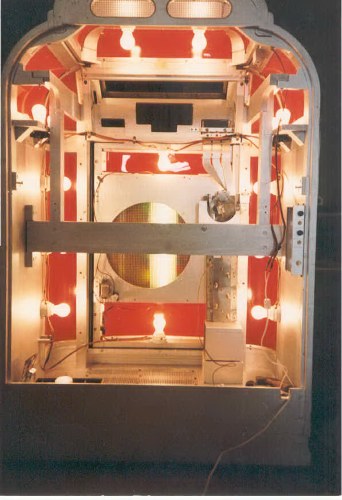
First Lightup.
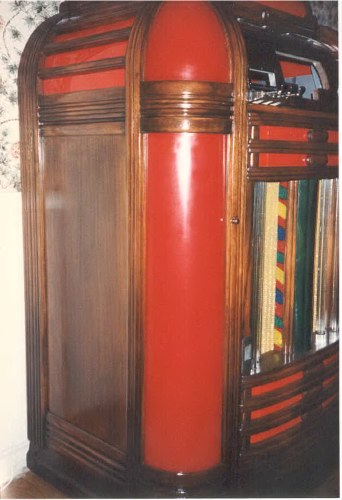
Some detail of the front plastics as it is being rebuilt. Large thick plastic pilasters are original that have had all the old nicotine removed with 409 cleaner (409 works wonders on removing old smoke tar and nicotine buildups. Any large scratches can be sanded out and the plastic repolished.
The other plastics are usually deteriorated beyond reuse since they were approx. .060" thickness originally. They are replaced with either .060 or .080 U-Vex plastic sheeting available from commercial plastic suppliers.
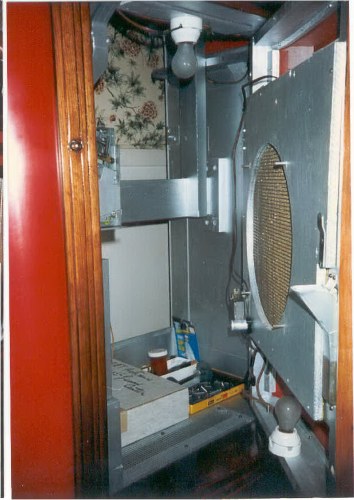
Inside of front speaker door open.

Amp was stripped, sandblasted, repainted and repaired. This Seeburg had a model SB-1120 amp in it. There were not too many of those used. Schematics are nonexistent that I know of.
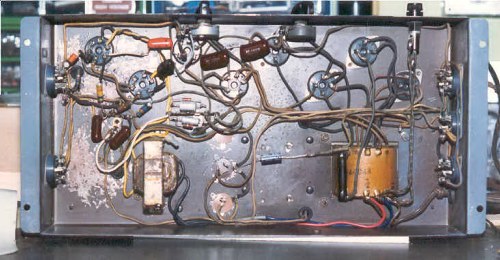
The underside was not sandblasted or painted since many of the components are remaining in place. Always replace all capacitors and resistors. Including the electrolytic capacitors under the top cover. You must have the original speaker with a field coil to use the original amp without modification. A good speaker shop can recone the speaker and install a new voice coil. But you'll have to be sure the field coil is good. Few people rewind or repair field coils.
Title board open showing lighting.

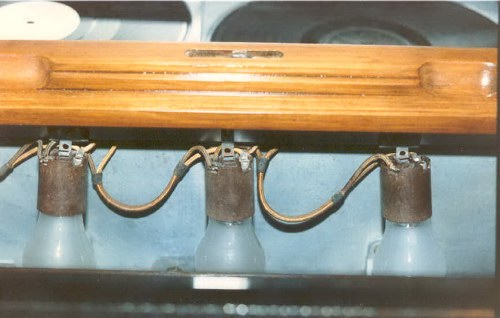
Electrical distribution panel. Yes the light bulb is original, it provides voltage drop for the coin solenoid coils.
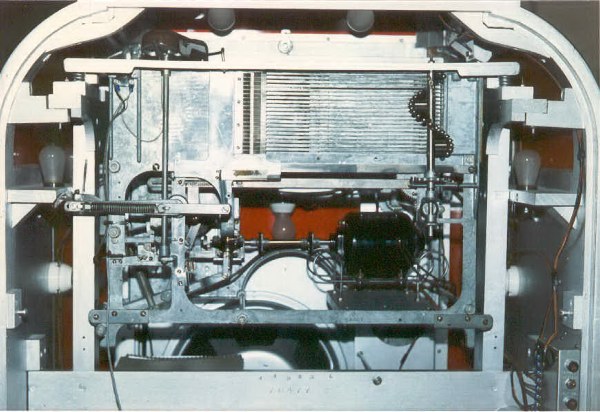
Restored mechanism installed, rear view.
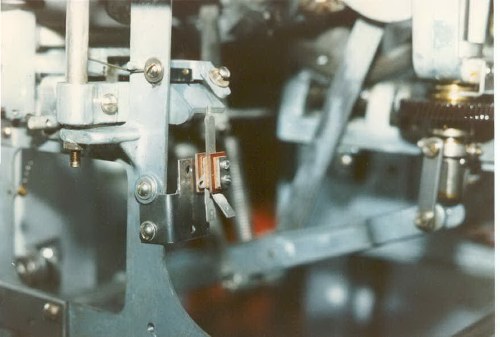
Mech Details
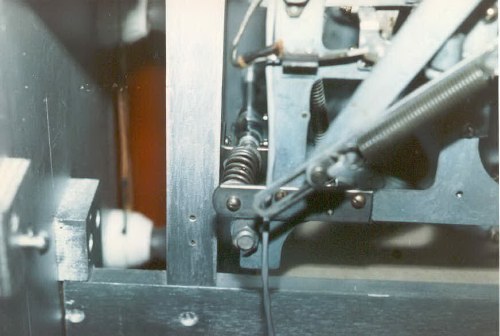
More details.
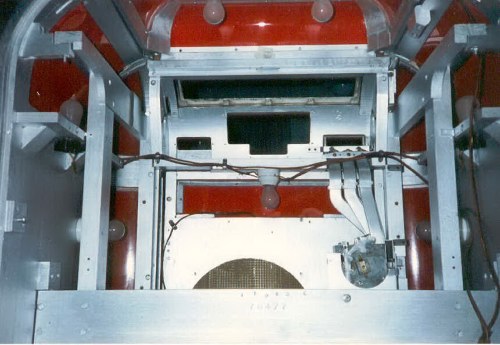
Upper cab inside before mech installed.
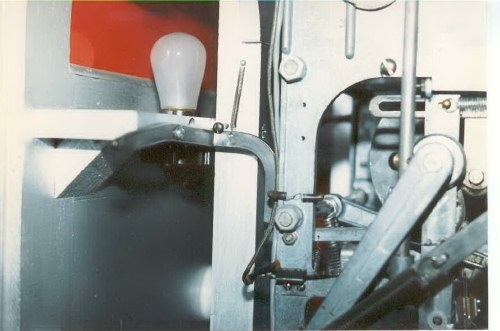
Added electric reject switch.
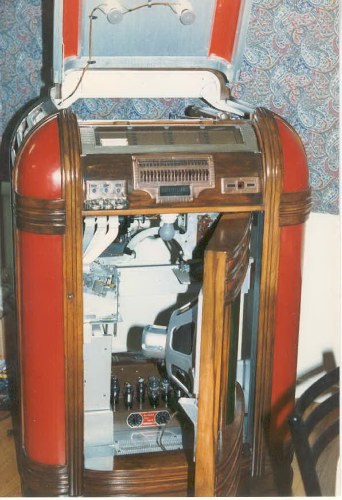
Front finished with access doors open.
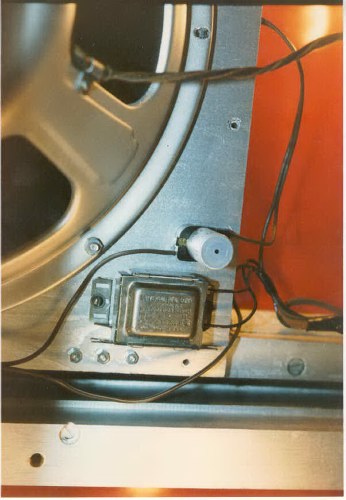
Lumiline bulb behind front center green plastic replaced with florescent bulb, here is starter and ballast for it. The new bulb will run a lot cooler than the old incandescent lumiline bulb and the plastic will last indefinitely this way.
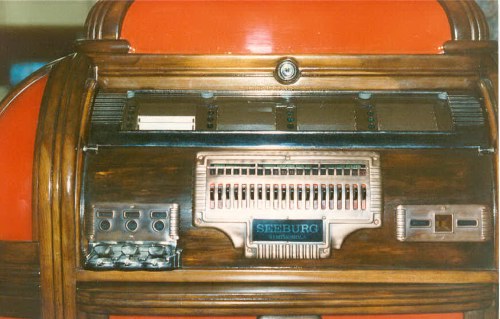
Selection/coin/counter closeup. Note the coin and selector panels are antique copper finish and the title board is nickel plated. All of the labels were remade from new artwork and transferred to full size negs and laminated with colored acetate.
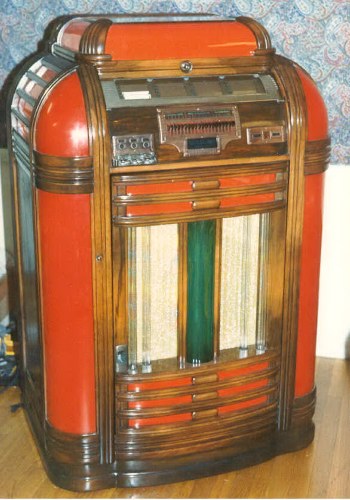
Finished!